
1. 서론
The Pro-Ject Debut RecordMaster II is a high-fidelity turntable designed for an enhanced vinyl listening experience and digital conversion. This model features a pre-mounted OM5e cartridge, a built-in switchable phono preamplifier, and a USB output for direct connection to a PC or Mac. It incorporates a belt drive system with a low-noise AC motor, TPE decoupling, and a DC-driven AC generator for stable speed. Electronic speed change allows for playback at 33, 45, and 78 RPM, with a simple stylus exchange (OM78, not included) and drive belt adjustment required for 78 RPM.
This manual provides essential information for the proper setup, operation, and maintenance of your turntable to ensure optimal performance and longevity.
2. 안전 지침
- 사용하기 전에 모든 지침을 주의 깊게 읽으세요.
- Keep the turntable away from water, moisture, and direct sunlight.
- Do not place the turntable near heat sources such as radiators, heat registers, stoves, or other apparatus that produce heat.
- 제조사가 지정한 부속품/액세서리만 사용하세요.
- Unplug the turntable during lightning storms or when unused for long periods.
- 모든 서비스는 자격을 갖춘 서비스 담당자에게 의뢰하세요.
- 장치 주변의 적절한 환기를 확인하십시오.
3. 패키지 내용
아래 나열된 모든 품목이 패키지에 포함되어 있는지 확인하세요.
- Pro-Ject Debut RecordMaster II Turntable with pre-mounted OM5e cartridge
- Connect it RCA Cable
- 먼지 덮개
- Adapter for 7-inch singles
- 전원 공급
4. 설정 가이드
Follow these steps to set up your Pro-Ject Debut RecordMaster II turntable:
4.1 포장 풀기 및 배치
Carefully remove all components from the packaging. Place the turntable on a stable, level surface away from vibrations and direct heat sources. Ensure adequate space for the dustcover to open fully.
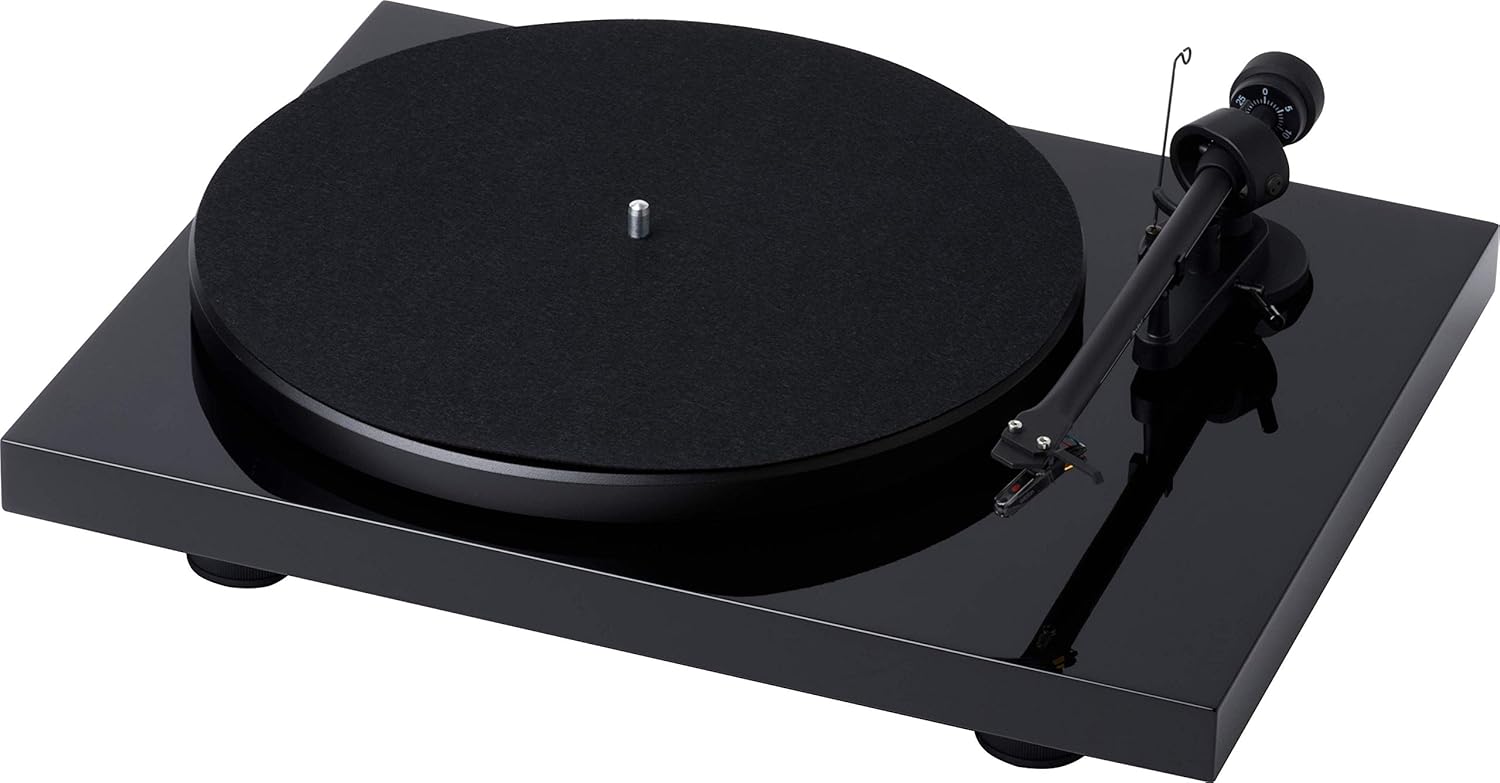
그림 1: 상향식 view of the Pro-Ject Debut RecordMaster II Turntable.
4.2 플래터 및 벨트 설치
- 접시를 스핀들 위에 올려놓으세요.
- Carefully loop the drive belt around the motor pulley and the inner rim of the platter.
4.3 톤암 밸런스 및 트래킹 포스
The turntable comes with a pre-mounted OM5e cartridge. Refer to the cartridge manufacturer's instructions for precise tracking force and anti-skating settings. Generally, balance the tonearm until it floats freely, then set the tracking force using the counterweight.
Figure 2: Close-up of the tonearm, showing the Pro-Ject branding.
4.4 오디오 시스템 연결
The Debut RecordMaster II features a built-in switchable phono preamplifier and USB output. You can connect it to a line-level input on your hi-fi system or directly to a PC/Mac via USB.
- RCA 연결: Use the supplied RCA cable to connect the turntable's output to an available line-level input (e.g., AUX, CD) on your amplifier or receiver. Ensure the phono preamplifier switch on the turntable is set to 'Line Out' if connecting to a line-level input, or 'Phono Out' if connecting to an amp포노 입력 단자가 있는 앰프.
- USB 연결: Connect the turntable to your computer using a USB cable (not included). This allows for digital recording of your vinyl.
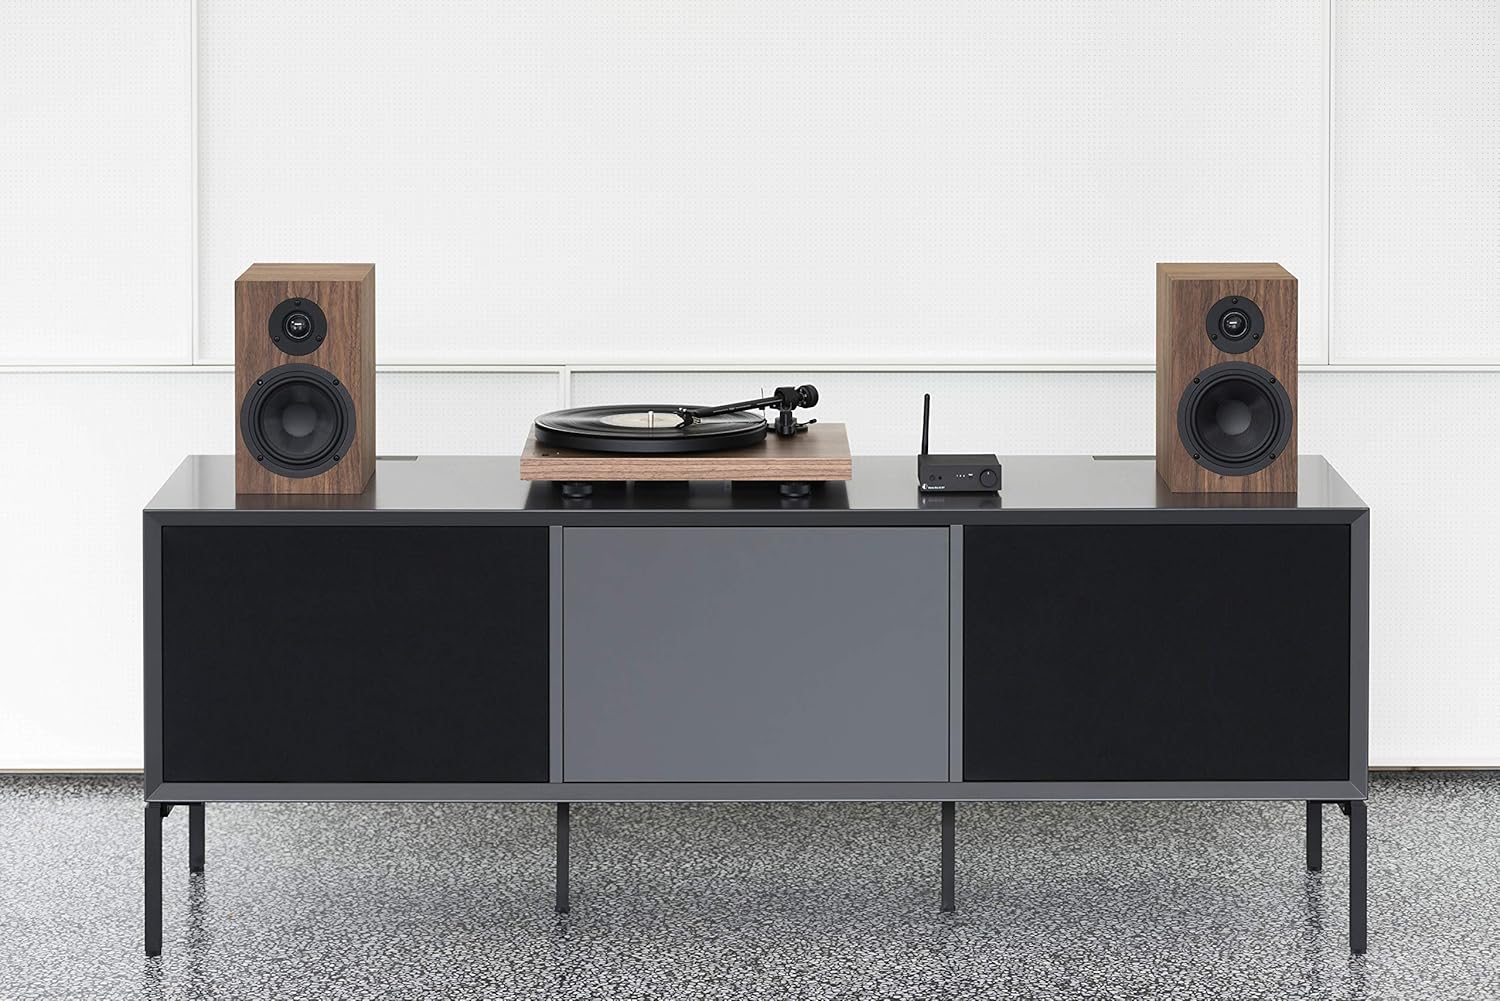
Figure 3: Turntable integrated into a home audio setup with speakers.

Figure 4: Turntable connected to a laptop, demonstrating USB recording capability.
4.5 Dustcover Installation
Attach the dustcover hinges to the designated slots on the rear of the turntable. The dustcover protects the turntable from dust and debris when not in use.
5. 사용 설명서
5.1 전원 켜기/끄기
Locate the power switch, typically on the underside or rear of the plinth. Turn the switch to the 'On' position to power the turntable. Turn it 'Off' when not in use.

Figure 5: Detail of the power switch for the turntable.
5.2단 속도 선택
The turntable supports 33, 45, and 78 RPM playback. Use the electronic speed change function to select the appropriate speed for your record. For 78 RPM records, a specific OM78 stylus (not included) and a drive belt turnover to a larger diameter of the pulley are required.
5.3 레코드 재생하기
- 플래터에 레코드를 놓습니다.
- Ensure the correct playback speed is selected.
- Raise the tonearm using the tonearm lift lever.
- 원하는 레코드 시작 홈 위로 톤암을 부드럽게 이동시키세요.
- Slowly lower the tonearm using the lift lever. The stylus will descend onto the record and playback will begin.
5.4 재생 중지
- Raise the tonearm using the tonearm lift lever.
- Move the tonearm back to its rest position.
- Lower the tonearm onto its rest using the lift lever.
- 턴테이블을 끄세요.
5.5 USB 녹음
To record vinyl to your PC/Mac, connect the turntable via USB. Use appropriate audio recording software (not included) on your computer to capture the audio signal. Ensure the turntable's phono preamplifier is set to 'Line Out' for USB recording.
6. 유지관리
6.1 스타일러스 청소
Regularly clean the stylus using a soft brush or a dedicated stylus cleaning fluid. Brush gently from back to front to remove dust and debris.
6.2 청소 기록
Use a carbon fiber brush or a record cleaning solution to keep your vinyl records free of dust and static. Clean records before each play to minimize wear on the stylus and improve sound quality.
6.3 Dustcover Care
Clean the dustcover with a soft, damp 옷감. 표면을 긁을 수 있는 연마성 세제는 사용하지 마십시오.
7. 문제 해결
If you encounter issues with your turntable, consult the following common problems and solutions:
| 문제 | 가능한 원인 | 해결책 |
|---|---|---|
| 소리가 나지 않거나 볼륨이 매우 낮습니다 | 잘못된 입력 선택 amplifier; Phono preamp switch incorrect; Loose cables. | Select correct input; Adjust phono preamp switch; Check all cable connections. |
| 왜곡된 소리 | Dirty stylus; Incorrect tracking force or anti-skating; Damaged stylus. | Clean stylus; Re-adjust tracking force/anti-skating; Replace stylus if damaged. |
| 재생 속도가 잘못되었습니다 | Wrong speed selected; Drive belt issue. | Select correct speed (33/45/78 RPM); Check drive belt for proper placement or wear. |
| 윙윙거리는 소리 | 접지선이 연결되지 않았습니다. 다른 전자 기기에서 발생하는 간섭이 있습니다. | Ensure ground wire is securely connected; Move turntable away from other electronic devices. |
8. 사양
| 특징 | 세부 사항 |
|---|---|
| 상표 | 프로젝트 |
| 모델명 | Recordmaster II |
| 품목 모델 번호 | RM II Om5e |
| 모터 유형 | 교류 모터 |
| 최대 회전 속도 | 78 RPM |
| 특별 기능 | USB Output, Built-in Phono Preamplifier, Electronic Speed Change |
| 호환 장치 | 개인용 컴퓨터 |
| 커넥터 유형 | USB |
| 재료 | 플라스틱 |
| 제품 치수 | 32 x 41.5 x 11.8cm; 7.7kg |
| 전원 유형 | 코드식 전기 |
| 배터리 포함 | 아니요 |
| 필요한 배터리 | 아니요 |
9. 보증 및 지원
For detailed warranty information, please refer to the documentation included with your product or visit the official Pro-Ject Audio Systems website. For technical support or service inquiries, please contact Pro-Ject customer service through their official channels.