
1. 서론
This manual provides instructions for the Arducam 16MP Autofocus USB Camera, Model B0290. This camera module features a 16-megapixel IMX298 sensor, offering sharp images and accurate color reproduction. It is designed for various applications including home surveillance, 3D printer monitoring, object recognition, and machine vision.

Figure 1: Arducam 16MP Autofocus USB Camera Module (Model B0290).
2. 주요 특징
- 고품질 이미징: Adopts a 16MP IMX298 sensor for sharp images and accurate color reproduction. Maximum still picture resolution: 4656 x 3496.
- 자동 초점 : Automatically adjusts focus for objects at various distances without manual lens adjustment.
- 프레임 속도: Supports MJPG 10fps@4656x3496/4160x3120/3264x2448/2592x1944; 30fps@2320x1744/1080P/720; YUY2 10fps@1024x768/800x600/640x480.
- 플러그 앤 플레이: UVC-compliant, requiring no additional drivers for installation on compatible operating systems.
- 응용 프로그램: Suitable for home surveillance, 3D printer monitoring, object recognition, tracking, and other machine vision tasks requiring high resolution.
3. 상자 안에 무엇이 들어있나요?
- USB 케이블
4. 설정 지침
The Arducam 16MP Autofocus USB Camera is UVC-compliant, allowing for plug-and-play functionality on most compatible operating systems without the need for additional driver installations.
4.1 Connecting to a Computer (Windows, Linux, Mac OS)
- 컴퓨터에서 사용 가능한 USB 포트를 찾습니다.
- Connect the provided USB cable to the camera module.
- USB 케이블의 다른 쪽 끝을 컴퓨터의 USB 포트에 꽂으세요.
- 운영 체제는 필요한 드라이버를 자동으로 감지하고 설치해야 합니다.
- Open a camera application (e.g., Camera app on Windows, Guvcview on Linux, Photo Booth on Mac) to verify the camera's functionality.

Figure 2: Connecting the camera to a laptop via USB.
4.2 Connecting to a Raspberry Pi
- 라즈베리 파이의 전원이 꺼져 있는지 확인하십시오.
- Connect the provided USB cable to the camera module.
- USB 케이블의 다른 쪽 끝을 라즈베리 파이의 사용 가능한 USB 포트에 꽂으세요.
- Power on your Raspberry Pi. The camera should be recognized as a standard UVC device.
- Use appropriate software (e.g., `fswebcam`, `motion`, or custom Python scripts) to access the camera feed.

Figure 3: Connecting the camera to a Raspberry Pi.
4.3 Connecting to an Android Device
For Android devices, a USB-C to USB-A adapter (not included) may be required if your device uses a USB-C port. Ensure your Android device supports USB OTG (On-The-Go) functionality.
- Connect the provided USB cable to the camera module.
- If necessary, connect the USB-A end of the cable to a USB-C to USB-A adapter.
- Plug the adapter (or USB-A end directly) into your Android device's USB port.
- Install a compatible USB camera application from the Google Play Store (e.g., 'USB Camera' by ShenYao).
- Open the application and select the Arducam camera as the input source.
4.4개 제품 이상view 동영상
비디오 1: 오버view demonstrating the Arducam 16MP IMX298 Autofocus USB Camera (Model B0290) connected to various devices and showcasing its autofocus capabilities.
5. 사용 설명서
Once connected, the Arducam 16MP Autofocus USB Camera operates as a standard webcam or camera module, depending on the host device and software used.
5.1 자동 초점 기능
The camera features automatic autofocus. Simply point the camera at your desired subject, and the lens will adjust to achieve a clear image. This eliminates the need for manual focus adjustments, making it suitable for dynamic environments or varying object distances.
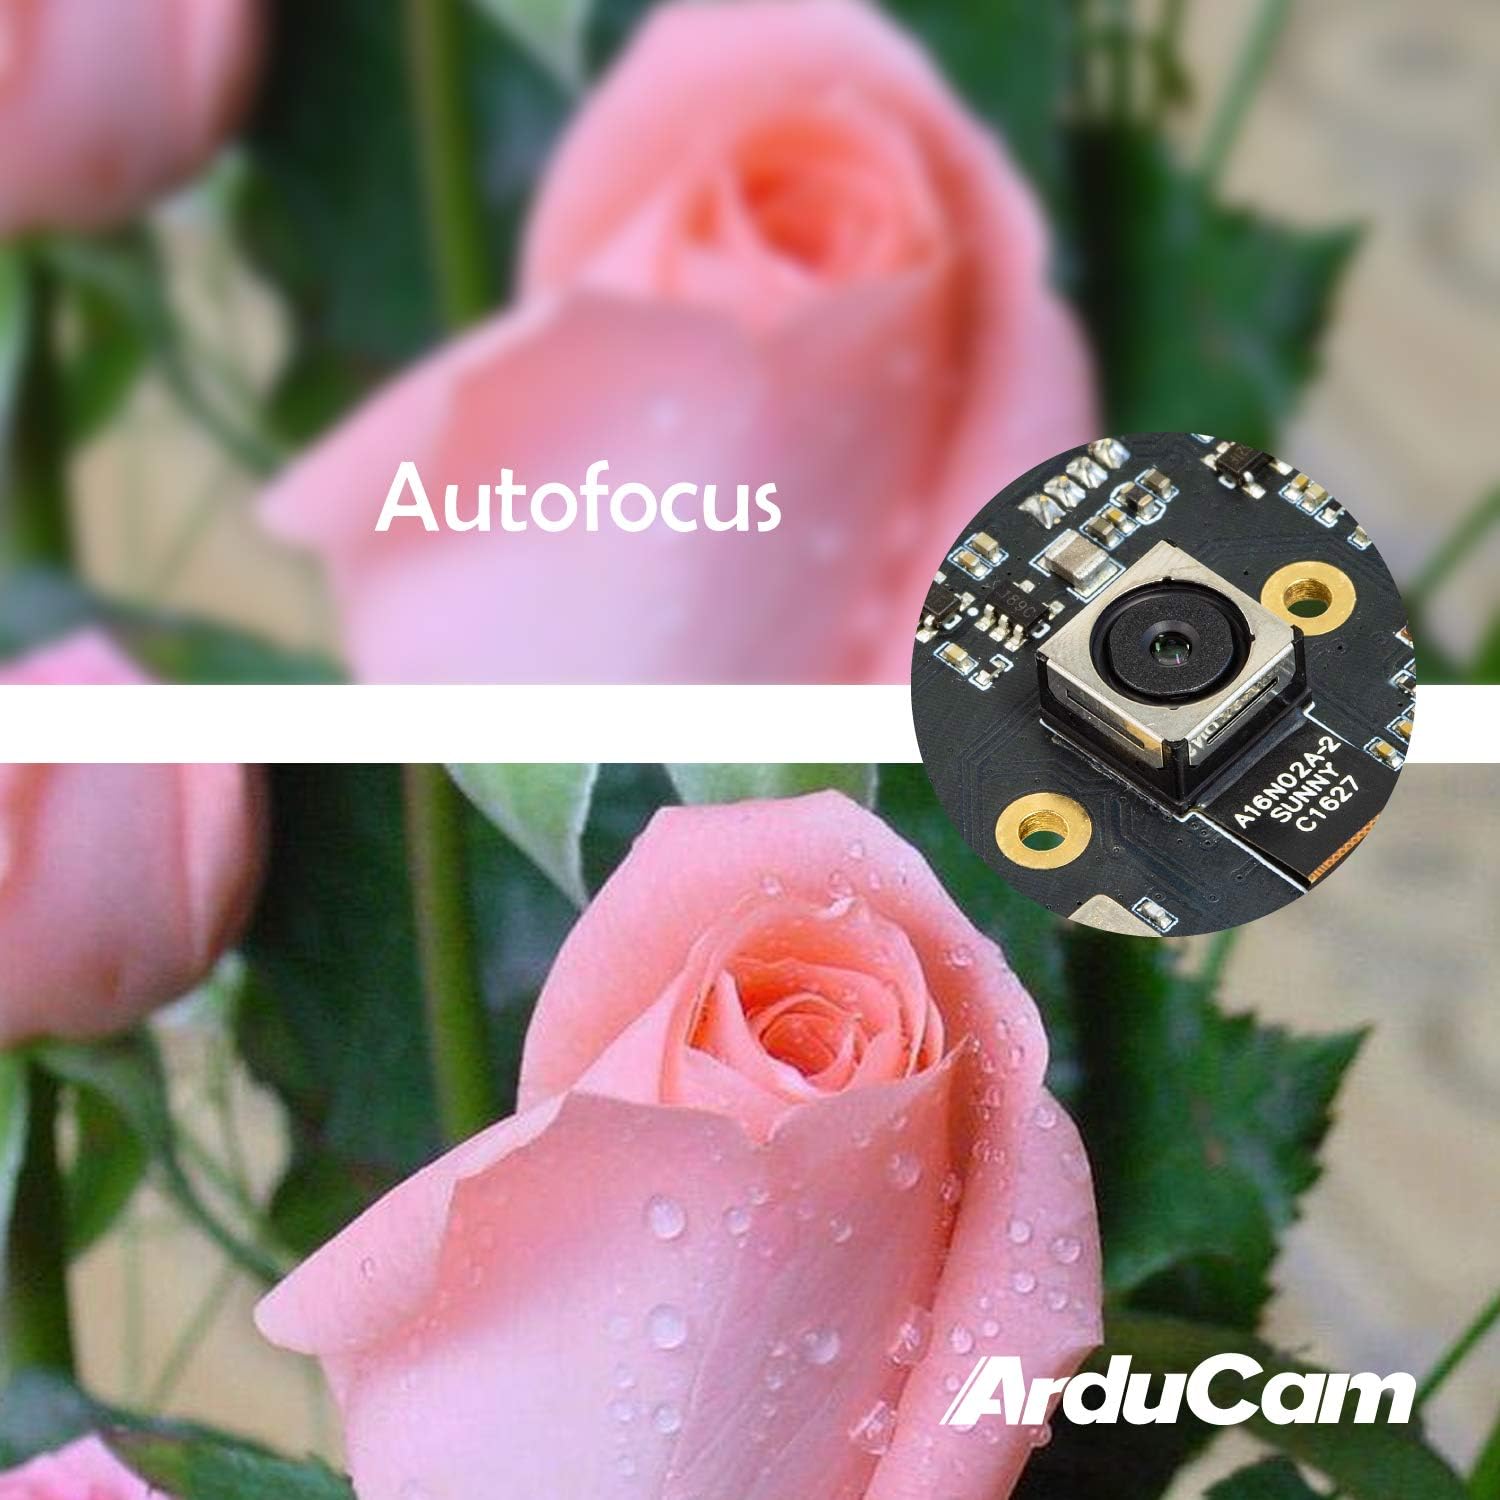
Figure 4: Demonstration of the camera's autofocus capability.
5.2 소프트웨어 호환성
The camera is compatible with standard UVC (USB Video Class) software. On Windows, you can use the built-in Camera app or third-party webcam software. On Linux, applications like Guvcview or Cheese can be used. For Mac OS, Photo Booth or QuickTime Player can access the camera. For advanced applications, programming libraries such as OpenCV can be utilized.
6. 사양
| 특징 | 세부 사항 |
|---|---|
| 상표 | 아르두캄 |
| 모델 번호 | B0290 |
| 포토 센서 기술 | CMOS |
| 효과적인 스틸 해상도 | 16 MP |
| 비디오 캡처 해상도 | 1080p |
| 최대 초점 거리 | 100 밀리미터 |
| 최소 초점 거리 | 100 밀리미터 |
| 초점 유형 | 자동 초점 |
| 연결 기술 | USB |
| 운영 체제 호환성 | 리눅스, 맥, 윈도우 |
| 품목 무게 | 0.07 킬로그램 |
| 포토 센서 크기 | 1/2.8인치 |
| 지원되는 이미지 형식 | MJPG/YUY2 |
| 지원되는 오디오 형식 | AAC, MP3, or PCM |
| 특징 | 낮은 조명 |

그림 5: 상단 및 하단 views of the camera module with dimensions.
7. 유지관리
To ensure the longevity and optimal performance of your Arducam 16MP Autofocus USB Camera, follow these maintenance guidelines:
- 청소: Use a soft, dry, lint-free cloth to gently wipe the camera lens and module surface. Avoid using liquid cleaners or abrasive materials, as they can damage the lens or electronic components.
- 저장: When not in use, store the camera in a cool, dry place away from direct sunlight, extreme temperatures, and high humidity. Keep it protected from dust and physical impact.
- 손질: Handle the camera module by its edges to avoid touching the lens or sensitive electronic components.
8. 문제 해결
If you encounter issues with your Arducam 16MP Autofocus USB Camera, consider the following troubleshooting steps:
- 카메라가 감지되지 않았습니다:
- USB 케이블이 카메라와 호스트 장치에 제대로 연결되어 있는지 확인하십시오.
- Try connecting the camera to a different USB port on your device.
- Test the camera on another computer or compatible device to rule out a device-specific issue.
- 컴퓨터 또는 호스트 장치를 다시 시작하십시오.
- 화면이 나오지 않거나 검은 화면만 표시됩니다.
- Verify that the correct camera is selected in your camera application settings.
- 카메라 앱을 닫았다가 다시 여세요.
- Check if any other application is currently using the camera, as some systems only allow one application to access it at a time.
- Poor Image Quality / Focus Issues:
- 카메라 렌즈가 깨끗하고 먼지나 얼룩이 없는지 확인하세요.
- Provide adequate lighting for your subject.
- For autofocus, ensure there is sufficient contrast in the scene for the camera to lock focus.
- 호환성 문제:
- Confirm that your operating system and software are compatible with UVC devices.
- For Android, ensure USB OTG is supported and enabled.
9. 보증 및 지원
보증 정보 및 기술 지원에 대해서는 Arducam 공식 웹사이트를 참조하십시오. web사이트에서 확인하거나 판매자에게 직접 문의하세요. 보증 청구를 위해 구매 영수증을 보관하세요.
방문할 수 있습니다 아르두캄 스토어 추가 제품 정보 및 리소스를 확인하세요.