1. 서론
This manual provides essential information for the safe and efficient operation of your ASUS ROG Strix XG27WQ gaming monitor. Please read this manual thoroughly before using the product to ensure proper setup, usage, and maintenance. Retain this manual for future reference.
The ASUS ROG Strix XG27WQ is a 27-inch WQHD (2560 x 1440) curved gaming monitor designed for an immersive visual experience. It features a native 165Hz refresh rate, 1ms MPRT response time, ASUS Extreme Low Motion Blur (ELMB) technology, FreeSync Premium Pro, and DisplayHDR 400 support.
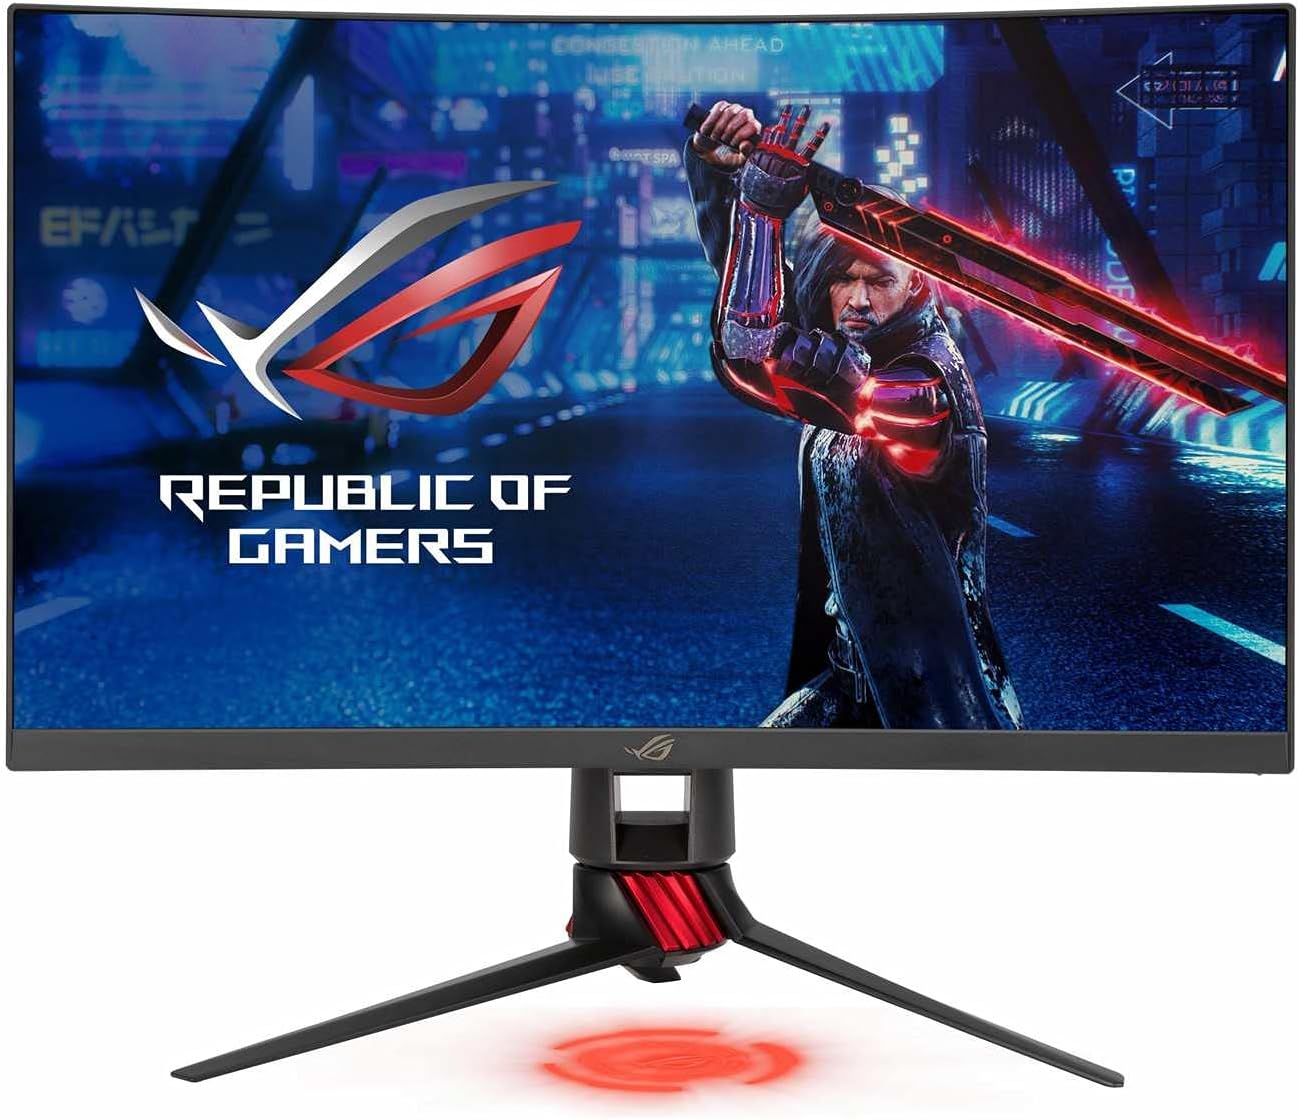
그림 1: 전면 view of the ASUS ROG Strix XG27WQ gaming monitor, showcasing its curved display and stand.
2. 안전 정보
- 전원: Use only the power adapter and cable supplied with your monitor. Ensure the power outlet is properly grounded.
- 통풍: 통풍구를 막지 마십시오. 모니터 주변에 충분한 공간을 확보하여 적절한 공기 흐름을 유지하고 과열을 방지하십시오.
- 액체 및 수분: Keep the monitor away from water, rain, or any wet environments. Do not spill liquids onto the monitor.
- 청소: Disconnect the power cable before cleaning. Use a soft, dry cloth. Avoid using liquid or aerosol cleaners.
- 놓기: 모니터를 안정적이고 평평한 표면에 놓으십시오. 직사광선이나 열원 근처에 두지 마십시오.
- 서비스: 모니터를 직접 수리하려고 하지 마십시오. 모든 수리는 자격을 갖춘 서비스 담당자에게 맡기십시오.
3. 패키지 내용
구매하신 상품에 다음 품목들이 모두 들어 있는지 확인하십시오. 품목이 누락되었거나 손상된 경우 판매점에 문의하십시오.
- ASUS ROG Strix XG27WQ Monitor
- 모니터 스탠드 베이스
- 모니터 스탠드 넥
- 전원 어댑터
- 전원 코드
- DisplayPort 케이블
- HDMI 케이블
- USB 3.0 업스트림 케이블
- 빠른 시작 가이드
- 보증 카드
4. 설정
4.1 모니터 스탠드 조립
- 긁힘을 방지하려면 모니터 패널을 부드럽고 깨끗한 표면에 뒤집어서 놓으세요.
- 스탠드 넥을 모니터 패널 뒷면에 부착하세요. 딸깍 소리가 나면서 제자리에 단단히 고정되는지 확인하세요.
- 스탠드 받침대를 스탠드 목 부분에 부착합니다. 받침대 하단의 고정 나사를 조여 단단히 고정합니다.
4.2 연결 케이블
필요한 케이블을 모니터와 컴퓨터 또는 기타 장치의 해당 포트에 연결하십시오.

그림 2: 후면 view of the monitor, illustrating the location of various input ports and the stand attachment point.
- 힘: 전원 어댑터를 모니터의 DC 입력 포트에 연결한 다음 전원 코드를 전원 콘센트에 꽂으십시오.
- 디스플레이포트: For optimal performance and to utilize the 165Hz refresh rate, connect the DisplayPort cable from your computer's graphics card to the monitor's DisplayPort input.
- HDMI : Connect an HDMI cable from your computer or console to one of the monitor's HDMI inputs. Note that HDMI 2.0 supports up to 144Hz at WQHD resolution.
- USB 업스트림: Connect the USB 3.0 upstream cable from your computer to the monitor's USB upstream port to enable the monitor's USB 3.0 downstream ports.
- USB 다운스트림: Connect USB devices (e.g., keyboard, mouse) to the monitor's USB 3.0 downstream ports.
- 오디오 잭 : 헤드폰이나 외부 스피커를 3.5mm 오디오 잭에 연결합니다.
4.3 초기 전원 켜기
After connecting all cables, press the power button located on the back of the monitor to turn it on. The monitor will automatically detect the active input source.
5. 사용 설명서
5.1 전원 켜기/끄기
Press the power button on the rear of the monitor to turn it on or off.
5.2 OSD 메뉴 탐색
The monitor features a 5-way joystick and several hotkeys on the rear for navigating the On-Screen Display (OSD) menu and quick access to functions.
- 조종간: Push the joystick up, down, left, or right to navigate menu options. Press the joystick in to confirm a selection.
- 단축키: Dedicated buttons provide shortcuts to features like GamePlus, GameVisual, and input selection.
5.3 키 OSD 설정
- 노름: Adjust settings such as OverDrive, FreeSync Premium Pro, ELMB, and refresh rate.
- 영상: Control brightness, contrast, sharpness, and aspect ratio.
- 색상: Fine-tune color temperature, saturation, and gamma.
- 입력 선택: DisplayPort와 HDMI 입력 간에 수동으로 전환합니다.
- 시스템 설치: Access general monitor settings like OSD language, OSD timeout, and LED indicators.
6. 유지관리
6.1 모니터 청소
- 청소하기 전에는 항상 모니터를 끄고 전원 코드를 뽑으십시오.
- 부드럽고 보푸라기가 없는 천을 사용하여 화면과 외부 표면을 가볍게 닦으세요.
- 완고한 자국의 경우 가볍게 dampen the cloth with water. Avoid using alcohol-based cleaners, ammonia, or abrasive materials, as these can damage the screen coating.
6.2 보관
If storing the monitor for an extended period, disconnect all cables, clean it thoroughly, and pack it in its original packaging if possible. Store in a cool, dry place.
7. 문제 해결
If you encounter issues with your monitor, refer to the following troubleshooting guide. If the problem persists, contact ASUS customer support.
| 문제 | 가능한 해결책 |
|---|---|
| 전원이 없습니다 | 전원 코드가 모니터와 작동하는 콘센트에 제대로 연결되어 있는지 확인하십시오. 전원 어댑터 연결 상태를 점검하십시오. |
| 신호 없음 | Verify that the video cable (DisplayPort or HDMI) is securely connected to both the monitor and your computer. Ensure the correct input source is selected in the OSD menu. Check if your computer is powered on and not in sleep mode. |
| 이미지가 너무 어둡거나 너무 밝습니다. | Adjust the brightness and contrast settings in the OSD menu (Image section). |
| 이미지가 흐릿하거나 왜곡됩니다. | Check the display resolution settings on your computer to ensure they match the monitor's native resolution (2560x1440). Adjust sharpness in the OSD menu. |
| 화면 깜박임 | Ensure your graphics card drivers are up to date. Check the refresh rate setting on your computer and in the OSD menu. Try a different video cable. |
| 헤드폰/스피커에서 소리가 나지 않습니다 | Ensure the audio cable is properly connected. Check the volume settings on the monitor and your computer. |
8. 사양
The following table outlines the technical specifications for the ASUS ROG Strix XG27WQ monitor.

그림 3: 측면 view of the monitor, indicating its physical dimensions.
| 특징 | 사양 |
|---|---|
| 모델 | XG27WQ |
| 화면 크기 | 27 인치 |
| 패널 유형 | VA |
| 해결 | 2560x1440(WQHD) |
| 종횡비 | 16시 9분 |
| 곡률 | 1500R |
| 새로 고침 빈도 | 165Hz (기본 주파수) |
| 응답 시간 | 1ms(MPRT) |
| HDR 지원 | 디스플레이HDR 400 |
| 적응형 동기화 | FreeSync 프리미엄 프로 |
| 명도 | 400 cd/m² (일반) |
| 대비율 | 3000:1 (일반) |
| 디스플레이 색상 | 16.7만 |
| 비디오 포트 | DisplayPort 1.2 1개, HDMI 2.0 2개 |
| USB 포트 | 3 x USB 3.0 (1 Upstream, 2 Downstream) |
| 오디오 포트 | 3.5mm 이어폰 잭 |
| 전력 소비 | 10W(일반) |
| 치수(스탠드 포함) | 대략. 75.03 x 53.04 x 26cm |
| 무게(스탠드 포함) | 6.2kg |
9. 보증 및 지원
This ASUS product comes with a limited warranty. The specific terms and duration of the warranty may vary by region and local laws. Please refer to the warranty card included in your package for detailed information.
기술 지원, 문제 해결 지원 또는 서비스 문의는 ASUS 공식 지원 페이지를 방문하십시오. website or contact your local ASUS customer service center. You may need your product's serial number and proof of purchase when seeking support.
ASUS 지원 Web대지: https://www.asus.com/support/