
1. 서론
Thank you for choosing the Sonew 4-Channel 5-in-1 Real-time Video Recorder. This device is designed for comprehensive surveillance, supporting AHD, CVI, TVI, DVR, and NVR camera types. It offers real-time synchronous recording, multi-channel playback, and multi-user network operation, ensuring reliable security for your home or business.

Image 1.1: The Sonew DVR system providing surveillance in different settings, highlighting its versatile application.
2. 안전 정보
- 전원 공급 장치가 지정된 볼륨과 일치하는지 확인하십시오.tag손상을 방지하기 위한 e 및 현재 요구 사항.
- 기기를 습기, 비 또는 극한 온도에 노출시키지 마십시오.
- 직사광선이나 열원 근처에 장치를 두지 마십시오.
- c를 열지 마세요asing; 모든 서비스는 자격을 갖춘 인력에게 의뢰하세요.
- Use only a 3.5-inch security-grade hard drive with this DVR. Using incompatible hard drives may lead to data loss or system malfunction.
3. 패키지 내용
다음 품목이 패키지에 포함되어 있는지 확인하세요.
- Sonew 4-Channel DVR Unit
- 전원 어댑터
- USB 마우스
- 사용 설명서 (본 문서)
품목이 누락되었거나 손상된 경우 판매점에 문의하세요.
4. 제품 오버view
The Sonew DVR is a compact unit designed for efficient video surveillance. It features multiple input/output ports for cameras, monitors, and network connectivity.
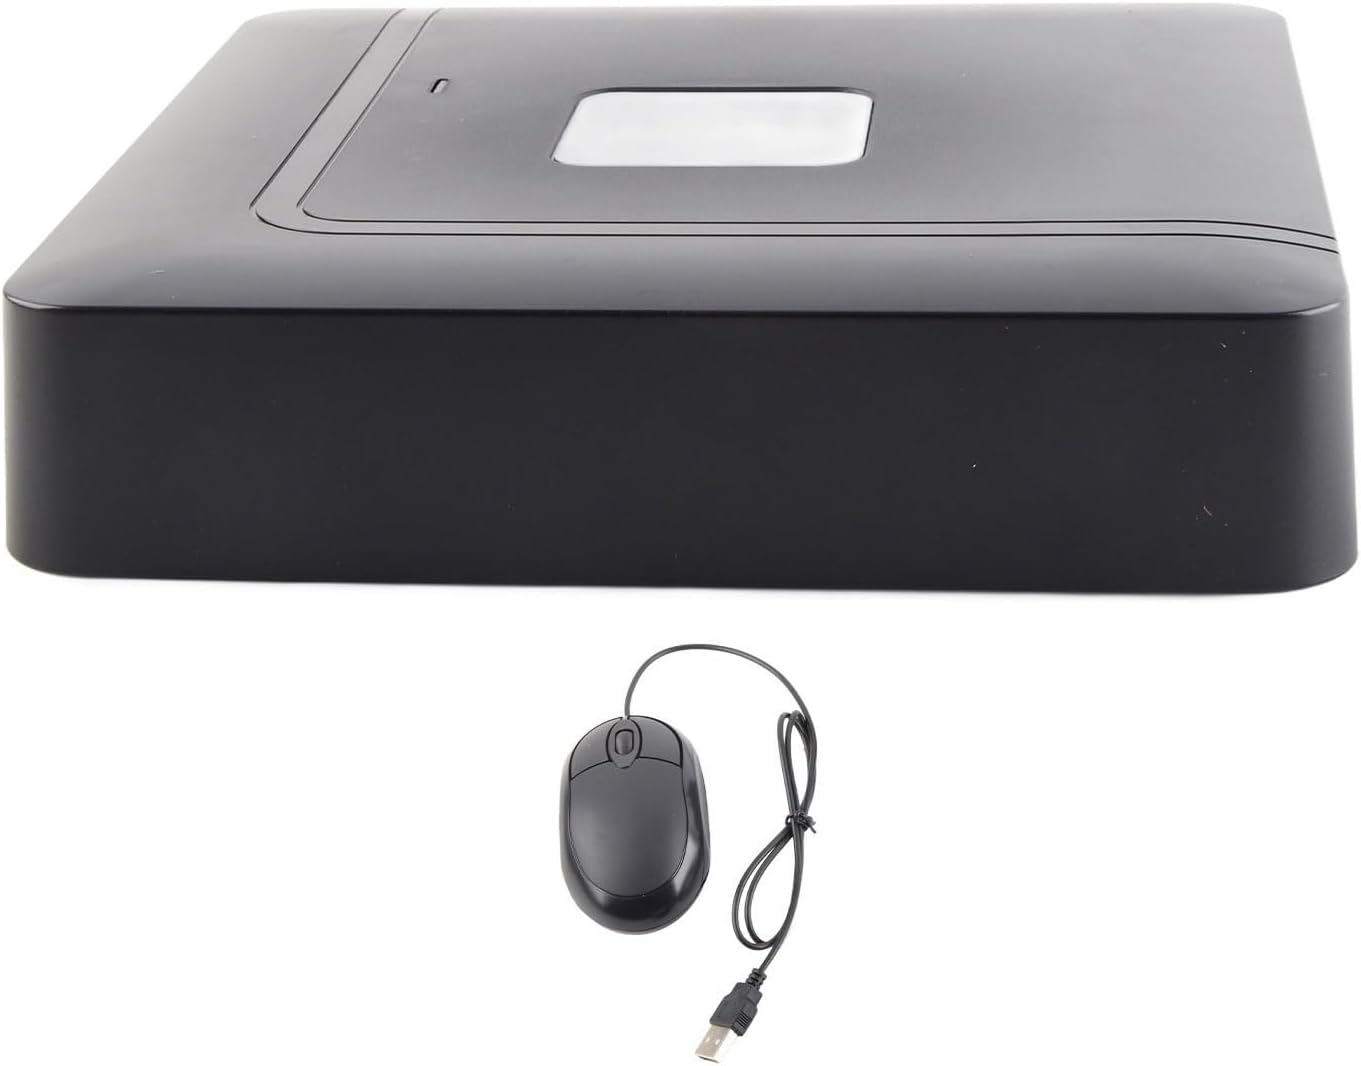
Image 4.1: Illustration showing both new and older models of the Sonew DVR, indicating that units may vary in external appearance.
5. 설정
5.1. 하드웨어 연결
DVR 시스템을 연결하려면 다음 단계를 따르세요.
- 카메라 연결: Attach your AHD/CVI/TVI cameras to the BNC video input ports on the rear panel. This DVR supports up to 4 channels.
- 모니터 연결: Use an HDMI or VGA cable to connect your monitor to the corresponding output port on the DVR. Ensure your monitor supports resolutions like 1920*1080, 1280*720, 1440*900, 1280*1024, 1024*768, or 800*600.
- USB 마우스 연결: Plug the included USB mouse into one of the USB ports for easy navigation of the graphical user interface (GUI).
- 네트워크 연결(선택 사항): 원격용 viewing and network backup, connect an Ethernet cable from your router to the LAN port on the DVR.
- 전원 연결: Plug the power adapter into the DC 12V input port and then into a power outlet.

Image 5.1: A visual guide to connecting cameras, monitor, and USB devices to the DVR's rear panel.
5.2. 하드 드라이브(HDD) 설치
The DVR requires a 3.5-inch SATA security-grade hard drive (up to 8TB) for video storage. 중요한: Do not use consumer-grade or incompatible hard drives, as this may lead to system instability or data loss.
- Unscrew the cover of the DVR unit.
- Carefully connect the SATA data and power cables from the DVR to the hard drive.
- DVR 내부의 하드 드라이브를 안전하게 고정하십시오.asing using the provided screws.
- Replace the DVR cover and secure it with screws.
6. 사용 설명서
6.1. 전원 켜기 / 끄기
- 전원 켜기: After all connections are made, plug in the power adapter. The DVR will automatically power on.
- 전원 끄기 : To safely shut down the system, navigate to the system menu using the mouse, select 'Shutdown' or 'Power Off', and confirm. Do not unplug the power directly without proper shutdown to prevent data corruption.
6.2. Initial Setup and User Interface
Upon first power-on, the DVR will guide you through an initial setup wizard. The system features a 16-bit true color graphical user interface (GUI) that is easily navigable with the USB mouse.

Image 6.1: The DVR supports various HD display resolutions for clear monitoring.
6.3. 녹화 구성
The DVR supports real-time synchronous recording across all channels. You can configure various recording modes:
- 연속 녹화 : 24시간 내내 기록합니다.
- 모션 감지 녹화: The DVR features 192 (16x12) detection zones per channel. You can set multi-level sensitivity for local analog channels. Access the 'Record Settings' menu to configure motion detection areas and sensitivity.
- 예약 녹화 : 녹음을 위한 특정 시간을 설정하세요.

Image 6.2: The 'Channel Type' menu allows configuration of video input types and recording parameters.
6.4. 비디오 재생
Access the 'Playback' menu to review 기록된 footage. The system supports multi-channel real-time playback, allowing you to view 여러 대의 카메라가 동시에 피드합니다.
6.5. 데이터 백업
You can back up recorded video for evidence storage using several methods:
- USB 백업: Connect a USB portable hard drive or flash drive to a USB port and use the backup function in the menu.
- 네트워크 백업: 옮기다 files over the network to a connected computer or storage device.
- SATA Backup: Direct backup to an external SATA device (if supported by the system).
6.6. 네트워크 설정
원격을 활성화하려면 viewing and network functions, configure the network settings in the DVR's menu. This typically involves setting up IP addresses, subnet masks, and gateway information, either manually or via DHCP.
7. 유지관리
7.1. 청소
Regularly clean the exterior of the DVR with a soft, dry cloth. Do not use liquid cleaners or aerosols. Ensure ventilation openings are free from dust and obstructions to prevent overheating.
7.2. HDD Management
Periodically check the health of your hard drive through the DVR's system information. Format the hard drive as needed to maintain optimal performance and storage capacity. Ensure important footage is backed up before formatting.
8. 문제 해결
- 디스플레이 출력 없음:
- Ensure the DVR is powered on.
- Verify that the HDMI or VGA cable is securely connected to both the DVR and the monitor.
- Try replacing the HDMI or VGA cable.
- Test with a different, newer monitor. This DVR may not be compatible with all older monitors or televisions. - 녹음 문제:
- Check if a compatible 3.5-inch security-grade hard drive is correctly installed and formatted.
- Verify that recording schedules or motion detection settings are properly configured.
- Ensure there is sufficient storage space on the hard drive. - 네트워크 연결 문제:
- Confirm the Ethernet cable is securely connected.
- Check network settings (IP address, gateway) in the DVR menu.
- Ensure your router is functioning correctly. - HDD Not Detected:
- Power off the DVR and check the SATA data and power connections to the hard drive.
- Ensure the hard drive is a 3.5-inch security-grade model and not exceeding 8TB.
9. 사양
| 특징 | 사양 |
|---|---|
| 상표 | 소뉴 |
| 모델 번호 | Sonewnoqkvx1t7z-02 |
| 연결 기술 | HDMI |
| 호환 장치 | 감시 장치 |
| 저장 용량 | Max 8 TB (for 3.5-inch HDD) |
| 힘 | 15 와트 |
| 채널 수 | 4 |
| 디지털 비디오 미디어 포맷 | 하드 디스크 |
| 오디오 입력 | (주)알에이씨에이 |
| 총 USB 포트 | 2 |
| 비디오 입력 유형 | 비앤씨 |
| 지원되는 해상도 | 1920*1080, 1280*720, 1440*900, 1280*1024, 1024*768, 800*600 |
| 움직임 감지 영역 | 192 (16*12) per channel (analog only) |
10. 보증 및 지원
이 제품에는 표준 제조사 보증이 적용됩니다. 자세한 보증 조건은 구매 시 제공된 설명서를 참조하시거나 판매점에 문의하세요.
For technical support, troubleshooting assistance, or further inquiries, please contact Sonew customer service or visit the official Sonew website for updated resources and contact information.