
1. 서론
1.1 환영합니다
Thank you for choosing the Wisi Orbit Line OA10A Offset Satellite Antenna. This manual provides essential information for the safe and efficient installation, operation, and maintenance of your satellite antenna. Please read this manual thoroughly before beginning installation and retain it for future reference.
1.2 안전 지침
부상 및 장비 손상을 방지하기 위해 다음 안전 수칙을 준수하십시오.
- 설치는 자격을 갖춘 사람만 수행해야 합니다.
- Always disconnect power to any associated equipment before installation or maintenance.
- Avoid contact with power lines during installation.
- Use appropriate safety gear, including gloves, safety glasses, and a harness when working at heights.
- 장착 구조가 안정적이며 안테나의 무게와 풍하중을 지탱할 수 있는지 확인하세요.
- Do not attempt to modify the antenna or its components.
2. 패키지 내용
2.1 포함 사항
패키지에 모든 구성 요소가 들어 있는지 확인하세요.
- 1x Wisi Orbit Line OA10A Offset Satellite Reflector (100 cm)
- 1x LNB Support Arm
- 1x LNB Holder (40 mm)
- 1x Mast Clamp 세트
- 1x Mounting Hardware Kit (screws, nuts, washers)
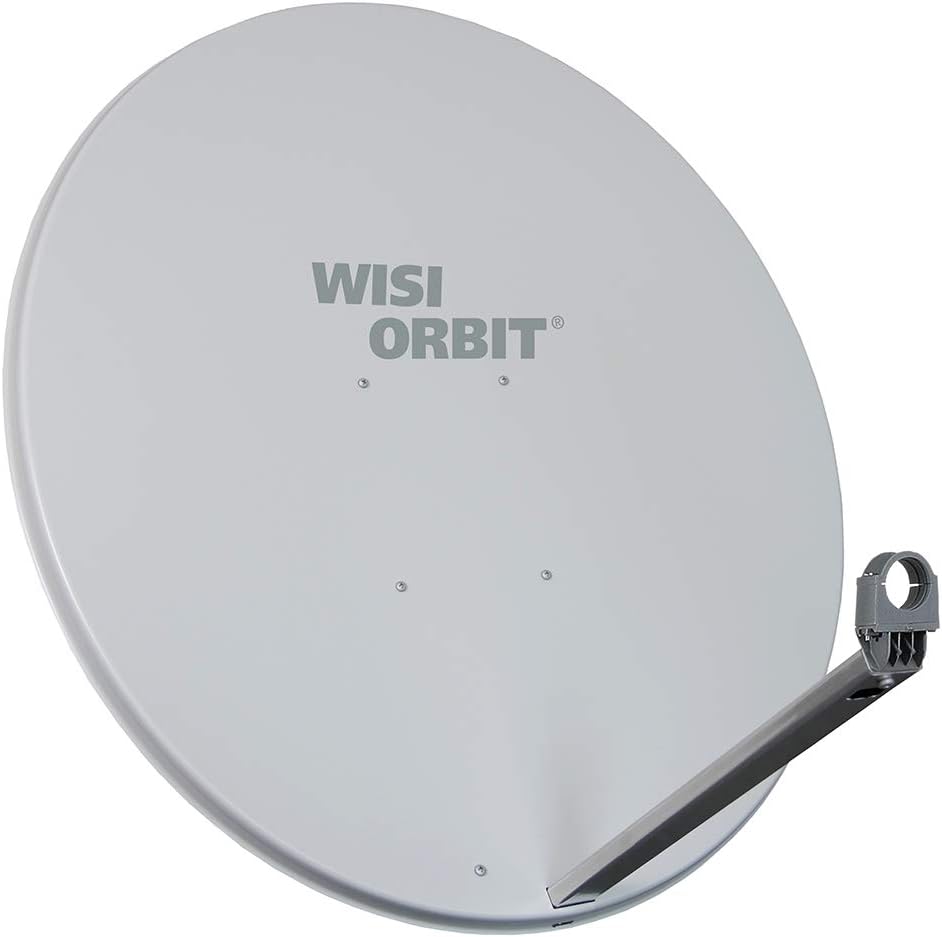
이미지 1: 앞면 view of the Wisi Orbit Line OA10A satellite antenna, showing the reflector dish and the LNB arm.
3. 설정 및 설치
3.1 사이트 선택
Choose an installation location that provides a clear line of sight to the desired satellite(s). Avoid obstructions such as trees, buildings, or other structures. The mounting surface or mast must be robust enough to withstand wind loads and the weight of the antenna.
3.2 조립 지침
Follow these steps to assemble the satellite antenna:
- Attach the LNB support arm to the back of the reflector dish using the provided screws and nuts. Ensure it is securely fastened.
- Slide the 40 mm LNB holder onto the end of the LNB support arm. Do not tighten completely yet, as adjustment may be needed.
- Secure the mast clamp set to the antenna's mounting bracket.

이미지 2: 후면 view of the Wisi Orbit Line OA10A satellite antenna, illustrating the mounting bracket and mast clamp 집회.
3.3 안테나 설치
Mount the assembled antenna to a sturdy mast or wall bracket. Use the mast clamp set to firmly secure the antenna. Ensure the mast is plumb and the antenna is level before making final adjustments. Do not overtighten the clamps initially, as fine adjustments will be required for satellite alignment.
3.4 LNB Installation
Insert your LNB (Low Noise Block converter) into the 40 mm LNB holder. Ensure the LNB is correctly oriented according to your satellite provider's specifications, typically with the F-connector pointing downwards to prevent water ingress. Secure the LNB in place with the provided clamp or screw on the LNB holder.
4. Operating the Satellite Antenna
4.1 Alignment and Signal Acquisition
Accurate alignment is crucial for optimal signal reception. This process typically involves adjusting the antenna's azimuth (horizontal angle) and elevation (vertical angle), and the LNB skew (rotation). A satellite finder meter is highly recommended for this step.
- Consult your satellite provider or online resources for the correct azimuth, elevation, and LNB skew settings for your specific location and desired satellite.
- Connect the satellite finder meter between the LNB and your satellite receiver.
- Slowly adjust the antenna's elevation and azimuth, making small movements until the satellite finder indicates a strong signal.
- Fine-tune the LNB skew for maximum signal quality.
- Once the optimal signal is achieved, carefully tighten all mounting bolts and LNB holder screws to prevent movement.
4.2 Connecting to Receiver
Connect the coaxial cable from the LNB to the 'Satellite In' port on your satellite receiver. Ensure all connections are secure and weatherproofed if exposed to the elements.
5. 유지관리
5.1 일반 관리
The Wisi Orbit Line OA10A antenna is designed for durability. Regular maintenance will ensure long-term performance:
- Periodically inspect the antenna for any physical damage, loose bolts, or corrosion.
- Clean the reflector surface with a soft cloth and mild detergent if dirt or debris accumulates, as this can degrade signal quality. Rinse thoroughly with water.
- Check coaxial cable connections for signs of wear or water ingress. Replace damaged cables or connectors.
5.2 날씨 고려 사항
In areas prone to heavy snow or ice, periodically clear the reflector surface to prevent signal loss and structural strain. During severe storms, consider temporarily lowering or securing the antenna if possible, though the design is robust for typical weather conditions.
6. 문제 해결
6.1 일반적인 문제 및 해결 방법
| 문제 | 가능한 원인 | 해결책 |
|---|---|---|
| 신호 없음 / 신호 약함 | Incorrect antenna alignment, LNB fault, cable issue, obstruction. | Re-align antenna, check LNB, inspect cables and connections, clear obstructions. |
| 화면 멈춤/화소 현상 | Weak signal, LNB skew incorrect, minor obstruction. | Fine-tune antenna alignment and LNB skew, check for partial obstructions. |
| Antenna Movement After Installation | 장착 볼트가 헐거워졌거나amps. | Ensure all mounting bolts and mast clamps가 단단히 조여져 있습니다. |
| Water in Coaxial Cable | 연결 부위가 제대로 밀봉되지 않았습니다. | Replace damaged cable/connector, use weatherproof tape or boots on all outdoor connections. |
7. 사양
7.1 기술 데이터
- 모델: OA10A (75675)
- 반사체 크기: 100cm
- LNB Holder Diameter: 40mm (XNUMXmm)
- 임피던스: 50옴
- 색상: 밝은 회색
- 채널 수: 1 (referring to LNB input)
- ASIN: B07C2NDPK2
- 영어: EAN: 04010056756758
8. 보증 및 지원
8.1 보증 정보
Wisi products are manufactured to high-quality standards. For specific warranty terms and conditions, please refer to the documentation provided with your purchase or contact your retailer. Keep your proof of purchase for warranty claims.
8.2 고객 지원
If you encounter issues not covered in this manual or require further assistance, please contact your Wisi dealer or the customer support channel provided by your point of purchase. When contacting support, please have your model number (OA10A or 75675) and purchase details ready.