제품 끝view
The Moen S6701BN 90 Degree Lavatory Faucet features a modern design with geometric forms and straight lines, suitable for contemporary bathroom aesthetics. This single-handle faucet is designed for easy water adjustment and single-hole mounting.
주요 특징은 다음과 같습니다.
- Single-handle lever for convenient water temperature and flow control.
- LifeShine® finish for enhanced durability, resistant to tarnishing, corrosion, and flaking.
- Single-hole mount design for a clean countertop appearance.
- Low flow rate of 1.0 GPM, complying with LEED standards for water efficiency.

Image 1: Moen S6701BN 90 Degree Lavatory Faucet in Brushed Nickel. This image displays the complete faucet unit with its single handle and flat spout design, showcasing the brushed nickel finish.
안전 정보
설치 및 사용 전에 모든 지침을 주의 깊게 읽어 주십시오. 지침을 따르지 않을 경우 재산 피해나 신체적 부상이 발생할 수 있습니다.
- 배관 작업을 시작하기 전에 항상 주 수도 공급을 차단하세요.
- 설치하는 동안 안전 안경 등 적절한 개인 보호 장비를 착용하세요.
- 모든 연결 부분이 안전하고 방수 처리되어 누수가 발생하지 않도록 하세요.
- 연결부를 너무 세게 조이지 마십시오. 부품이 손상될 수 있습니다.
- 설치 과정의 어떤 부분이든 확실하지 않은 경우 자격을 갖춘 배관공에게 문의하세요.
패키지 내용
설치를 시작하기 전에 모든 구성 요소가 있는지 확인하세요.
- 세면대 수도꼭지 조립
- Plug button kit
- 핸들 키트
- Handle hub kit
- 리프트 로드
- Pop-up plug and seat
- 장착 하드웨어
- 설치 지침
명세서
| 특징 | 세부 사항 |
|---|---|
| 상표 | 모엔 |
| 모델 번호 | S6701BN |
| 마무리 유형 | 브러시드 니켈 |
| 재료 | 금속 |
| 장착 유형 | 갑판 장착형, 단일 구멍 |
| 핸들 수 | 1 |
| 유량 | 분당 1.0갤런(GPM) |
| 주둥이 도달 | 4.25 인치 |
| 밸브 유형 | 압축 밸브 |
설정 및 설치
This section provides general guidelines for installing your Moen S6701BN lavatory faucet. For detailed, step-by-step instructions, please refer to the included installation guide or consult the official Moen web대지.
필요한 도구 및 재료(포함되지 않음):
- 조절 렌치
- 십자 드라이버
- 배관공 퍼티 또는 실리콘 실란트
- 손전등(선택 사항)
설치 단계:
- 지역 준비: Turn off the water supply to the sink at the shut-off valves. Clear the area under the sink.
- 오래된 수도꼭지를 제거하세요(해당되는 경우): Disconnect water supply lines and mounting nuts from the old faucet. Remove the old faucet.
- 새 수도꼭지 설치:
- Apply plumber's putty or silicone sealant to the underside of the faucet base plate.
- Insert the faucet body through the single hole in the sink or countertop.
- From underneath the sink, secure the faucet with the provided mounting hardware (washer and nut). Hand-tighten, then use a wrench for a final snug turn.
- 급수관 연결: Attach the hot and cold water supply lines from the faucet to the corresponding shut-off valves. Ensure connections are tight but do not overtighten.
- 배수 어셈블리를 설치하십시오: Follow the instructions for installing the pop-up drain assembly, including the lift rod.
- 누출 테스트: Turn on the main water supply slowly and check all connections for leaks. Operate the faucet to ensure proper hot and cold water flow.
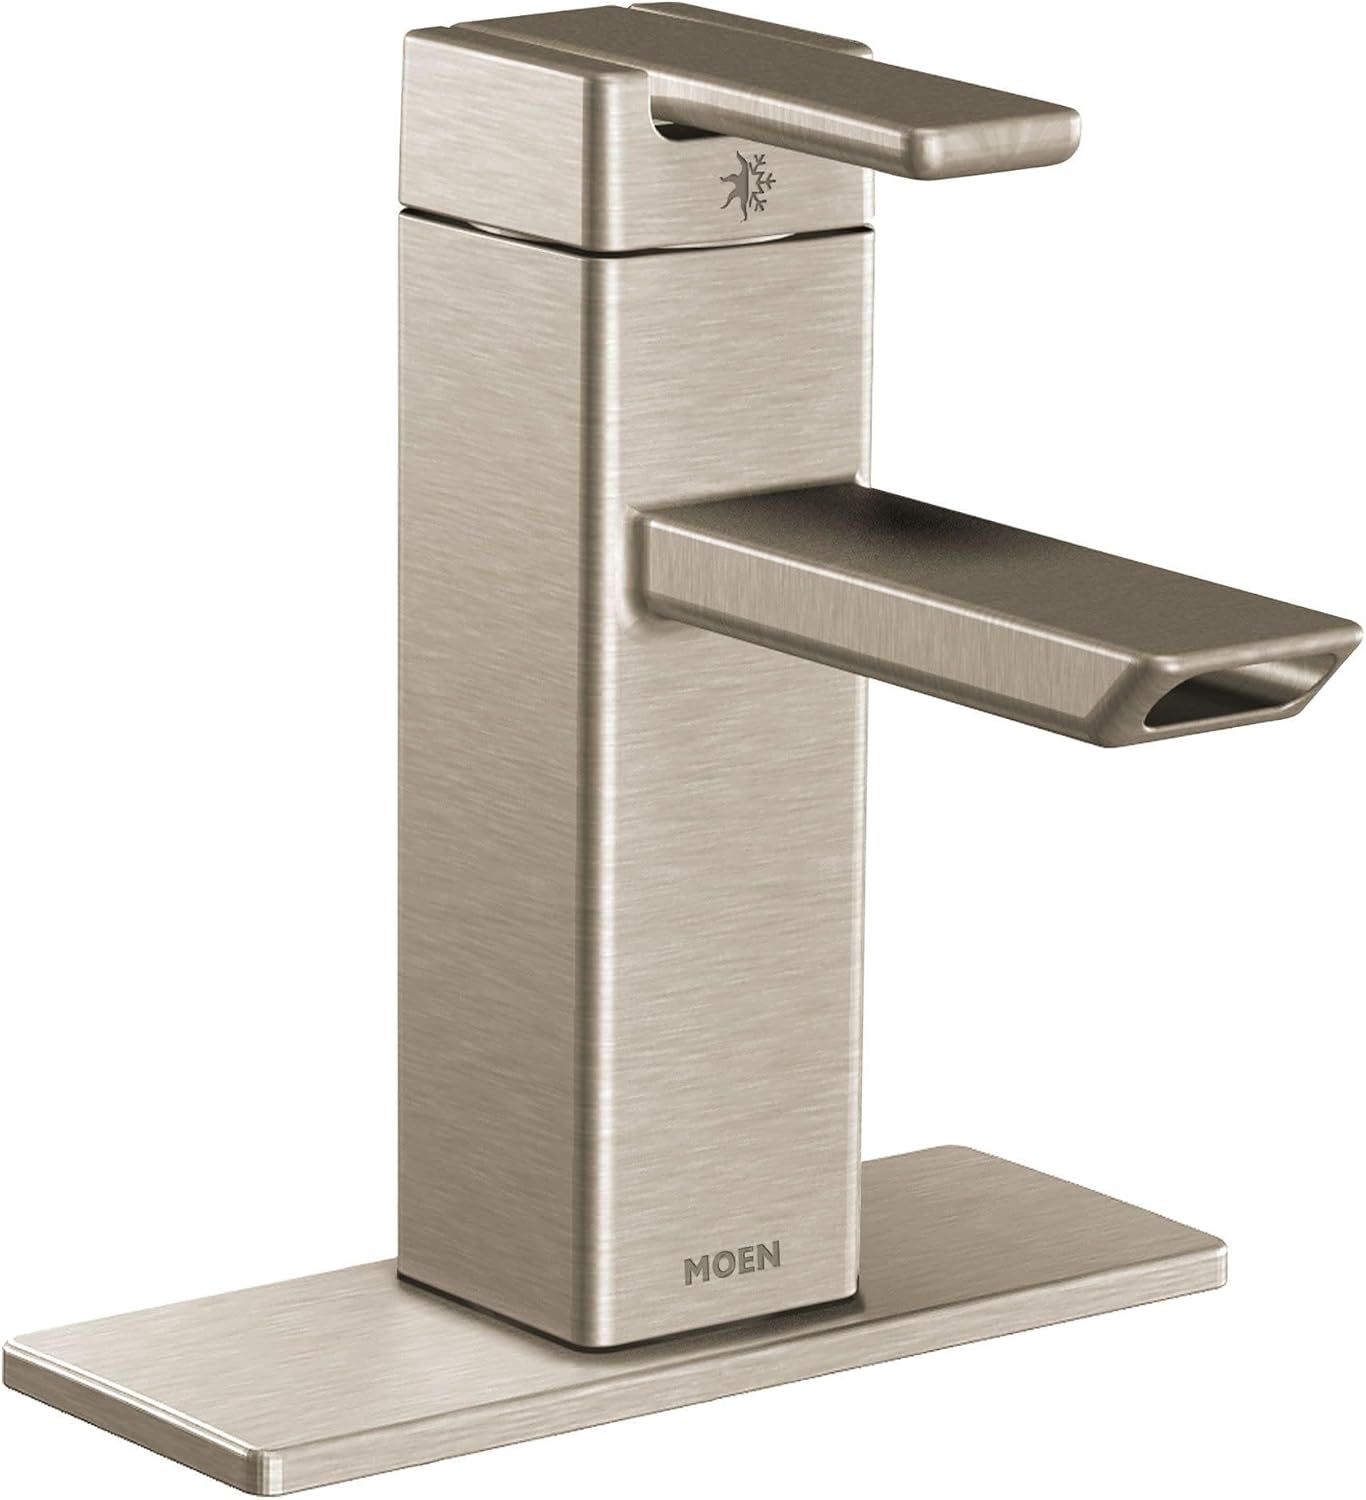
Image 2: Dimensional drawing of the Moen S6701BN faucet. This image provides key measurements and clearances for installation, including spout reach and overall height.

이미지 3: 측면 view of the Moen S6701BN faucet. This perspective highlights the single lever handle and the angle of the spout, useful for understanding operational mechanics.

이미지 4: 폭발 view or close-up of Moen S6701BN faucet components. This image illustrates the internal parts and assembly points, which can be helpful during installation or repair.
작동 지침
The Moen S6701BN faucet features a single lever handle for controlling both water flow and temperature.
- 켜기/끄기: Lift the lever handle upwards to turn on the water. Push the lever handle downwards to turn off the water.
- 물의 흐름을 조절하려면: The further the lever is lifted, the greater the water flow.
- 물 온도 조절 방법:
- Move the lever to the left for hotter water.
- Move the lever to the right for colder water.
- Position the lever in the center for a mixed temperature.
유지
Proper care and maintenance will ensure the longevity and appearance of your Moen faucet.
- 마감재 청소:
- 수도꼭지는 부드러운 천으로 정기적으로 청소하세요.amp 옷감.
- 필요한 경우 순한 비누와 물을 사용하십시오.
- Avoid abrasive cleaners, harsh chemicals, or scouring pads, as these can damage the LifeShine® finish.
- 물 얼룩이 생기지 않도록 깨끗이 헹군 후 부드러운 천으로 물기를 닦아주세요.
- 에어레이터 유지관리: Periodically unscrew the aerator from the end of the spout and clean any debris or mineral buildup. Rinse and reattach.
- 누출 방지: Check connections periodically for any signs of leaks. Tighten gently if necessary.
문제 해결
이 섹션에서는 수도꼭지에서 발생할 수 있는 일반적인 문제에 대해 설명합니다.
| 문제 | 가능한 원인 | 해결책 |
|---|---|---|
| 낮은 물 흐름 |
|
|
| 주둥이에서 누수 |
|
|
| 수온 문제 |
|
|
보증 정보
The Moen S6701BN Lavatory Faucet is backed by a 제한된 평생 보증. This warranty covers defects in material and manufacturing workmanship for the original consumer purchaser. For full details regarding warranty coverage, terms, and conditions, please refer to the official Moen warranty documentation included with your product or visit the Moen web대지.
The LifeShine® finish is also guaranteed not to tarnish, corrode, or flake off for the lifetime of the product.
지원 및 연락처 정보
기술 지원, 교체 부품 또는 보증 청구 관련 문의는 Moen 고객 지원 센터로 연락해 주십시오.
- Web대지: www.moen.com
- 핸드폰: 모엔을 참조하세요. web지역 연락처 사이트.
- 온라인 리소스: Product registration, FAQs, and additional installation guides may be available on the official web대지.
공식 제품 영상
Watch the official Moen brand story video for more information about Moen products and their commitment to quality.
Video 1: "Must Be A Moen - Leg Shaver - Brand Story". This video highlights various Moen products in different household scenarios, emphasizing their design and functionality for everyday use. It showcases the brand's versatility and user-centric approach.