
소개
구매해주셔서 감사합니다asing the Powell Chadwick Hall Tree. This manual provides essential information for safe assembly, operation, and maintenance of your new furniture. Please read all instructions carefully before beginning assembly and retain this manual for future reference.
The Chadwick Hall Tree is designed to enhance your entryway or hall with its classic style and practical features. It includes a top shelf, four mounted hooks, and a hinged storage seat, all finished in a rich cherry tone. The storage seat is equipped with child-safe hinges for added safety.

Image: The Powell Chadwick Hall Tree in Cherry finish, showcasin디자인과 기능성이 뛰어납니다.
안전 정보
WARNING: This product can expose you to chemicals including wood dust, which is known to the State of California to cause cancer. For more information go to www.P65Warnings.ca.gov.
본 제품을 안전하게 사용하시려면 다음 사항을 준수해 주십시오.
- 모든 볼트가 완전히 정렬되고 구멍/너트에 삽입될 때까지 볼트를 완전히 조이지 마십시오.
- 벗겨지지 않도록 나사와 볼트를 과도하게 조이지 마십시오.
- Always use hand tools to assemble this product. Do not use power tools.
- The storage seat lid is equipped with non-slam child-safe hinges to prevent sudden closing and potential injury.
- The unit includes breath holes within the storage compartment for safety.
- Install the anti-tipping hardware as instructed to prevent the unit from tipping over, which can cause serious injury.
- 어린이가 서랍, 문 또는 선반에 올라가거나 매달리지 않도록 하십시오.
- Do not remove or disable the power interlock system.
Video: Demonstration of the safety hinges feature, designed to prevent slamming and pinching.
제품 특징
- 치수: Fully assembled size is 40.47 inches (W) x 18 inches (D) x 64 inches (H).
- 설계: Features recessed back panel details for a seamless blend of style and function.
- 후크 : Four mountable double hook coat hangers, each with a weight limit of 7 pounds, ideal for coats, hoodies, and hats.
- 마치다: Rich cherry tone suitable for entryways, mudrooms, or hallways.
- Storage Seat: Lid equipped with non-slam child-safe hinges for safety. Seat height is 18 inches with a weight limit of 275 pounds.
- 숨겨진 저장소: Ample hidden storage space underneath the seat, with dimensions of 34.5 inches (W) x 13 inches (D) x 12 inches (H).
비디오: 끝view of the hidden storage feature, demonstrating how to access and utilize the space.

Image: The Chadwick Hall Tree with its storage seat lid open, revealing the internal storage compartment.
부품 목록
Before assembly, ensure all parts and hardware are present. Refer to the exploded diagram below for identification.

Image: Exploded diagram showing all individual components of the Hall Tree with letter labels.
하드웨어 목록:
| 목 | 설명 | 수량 |
|---|---|---|
| H1 | 나무 장부촉 | 20 |
| H2 | 캠 잠금 | 14 |
| H3 | 캠 볼트 | 14 |
| H4 | 나사 | 13 |
| H5 | 볼트 | 04 |
| H6 | 긴 나사 | 02 |
| H7 | 왼쪽 힌지 | 01 |
| H8 | 오른쪽 힌지 | 01 |
| H9 | 작은 나사 | 08 |
| H10 | 훅 | 04 |
| H11 | 후크 나사 | 08 |
| H12 | 앨런 렌치 | 01 |
| H13 | 플라스틱 캡 | 05 |
| H14 | Phillips 헤드 나사 | 02 |
조립 설명서
Some assembly is required. Please follow these steps carefully. It is recommended to have two people for certain steps.
Step 1: Assemble the Back Panel Support
Attach the back panel support (M) to the side panels (J) using bolts (H5) and cam locks (H2). Secure with the Allen wrench (H12).

Image: Detailed diagram for assembling the back panel support in Step 1.
Step 2: Connect Side and Front Panels
Connect the side panels (J, I) and front panel (G) to the base using cam bolts (H1) and cam locks (H2). Ensure all connections are snug but do not overtighten.

Image: Diagram illustrating the connection of side and front panels to the base in Step 2.
Step 3: Attach the Top Panel of the Storage Bench
Secure the top panel (K) to the assembled base using cam bolts (H3) and cam locks (H2). Use wood dowels (H1) for alignment. Cover exposed cam locks with plastic caps (H13).

Image: Diagram showing how to attach the storage bench top panel in Step 3.
Step 4: Install Bun Feet
Attach the bun feet (L) to the bottom of the storage bench (J, I, G, K).

Image: Diagram for installing the bun feet to the base of the hall tree in Step 4.
Step 5: Attach Hooks to Back Panels
Secure the hooks (H10) to the back panels (B and C) using hook screws (H11) and Phillips head screws (H14).

Image: Diagram showing the attachment of hooks to the back panels in Step 5.
6단계: 뒷면 패널 연결
Join the two back panels (B and C) together using wood dowels (H1).

Image: Diagram for connecting the two back panels in Step 6.
Step 7: Attach Side Supports to Back Panels
Attach the side supports (D and E) to the assembled back panels using screws (H4) and the Allen wrench (H12).

Image: Diagram showing the attachment of side supports to the back panels in Step 7.
8단계: 상단 패널 부착
Secure the top panel (A) to the upper back assembly using wood dowels (H1), cam locks (H2), cam bolts (H3), long screws (H6), and plastic caps (H13). Use the Allen wrench (H12) as needed.

Image: Diagram for attaching the top panel to the upper back assembly in Step 8.
Step 9: Attach Back Panel (F)
Attach the back panel (F) to the upper back assembly using wood dowels (H1), cam locks (H2), cam bolts (H3), and plastic caps (H13). Use the Allen wrench (H12) as needed.

Image: Diagram for attaching the back panel (F) to the upper back assembly in Step 9.
Step 10: Connect Upper and Lower Sections
Carefully place the assembled upper section onto the storage bench. Secure them together using wood dowels (H1), screws (H4), and the Allen wrench (H12).

Image: Diagram showing the connection of the upper and lower sections of the hall tree in Step 10.
Step 11: Install Storage Seat Hinges
Attach the left hinge (H7) and right hinge (H8) to the storage seat lid and the storage bench using small screws (H9) and Phillips head screws (H14). Ensure the hinges operate smoothly for the non-slam feature.

Image: Diagram for installing the storage seat hinges in Step 11.
Anti-Tipping Hardware Installation
IMPORTANT: For your safety, to prevent the danger of this unit tipping over, it is important that the wall anchor is properly attached.
Step 1: Prepare Wall Anchor
Put wall anchor (C) into the wall and attach mounting bracket (B) to the wall with long screw (E). Ensure the wall anchor is properly secured.

Image: Diagram showing the installation of the wall anchor and mounting bracket.
Step 2: Attach Mounting Bracket to Hall Tree
Attach mounting bracket (B) to the back of the hall tree with short screw (D).
Image: Diagram showing the attachment of the mounting bracket to the back of the hall tree.
Step 3: Secure Hall Tree to Wall
Slide the strap (A) through the mounting brackets and pull to tighten the Hall Tree snug against the wall.

Image: Diagram illustrating how to secure the hall tree to the wall using the anti-tipping strap.
작동 지침
The Powell Chadwick Hall Tree is designed for straightforward use:
- 코트 후크: Use the four double hooks to hang coats, jackets, hats, scarves, and bags. Ensure items do not exceed the 7-pound weight limit per hook.
- 상단 선반: The top shelf provides additional space for decorative items or small storage bins.
- 수납 벤치: The hinged seat opens to reveal a spacious storage compartment. Lift the seat gently; the safety hinges will prevent it from slamming shut. Close the lid gently to engage the non-slam mechanism.
- 좌석: The bench seat can support up to 275 pounds, providing a convenient spot for sitting while putting on or taking off shoes.
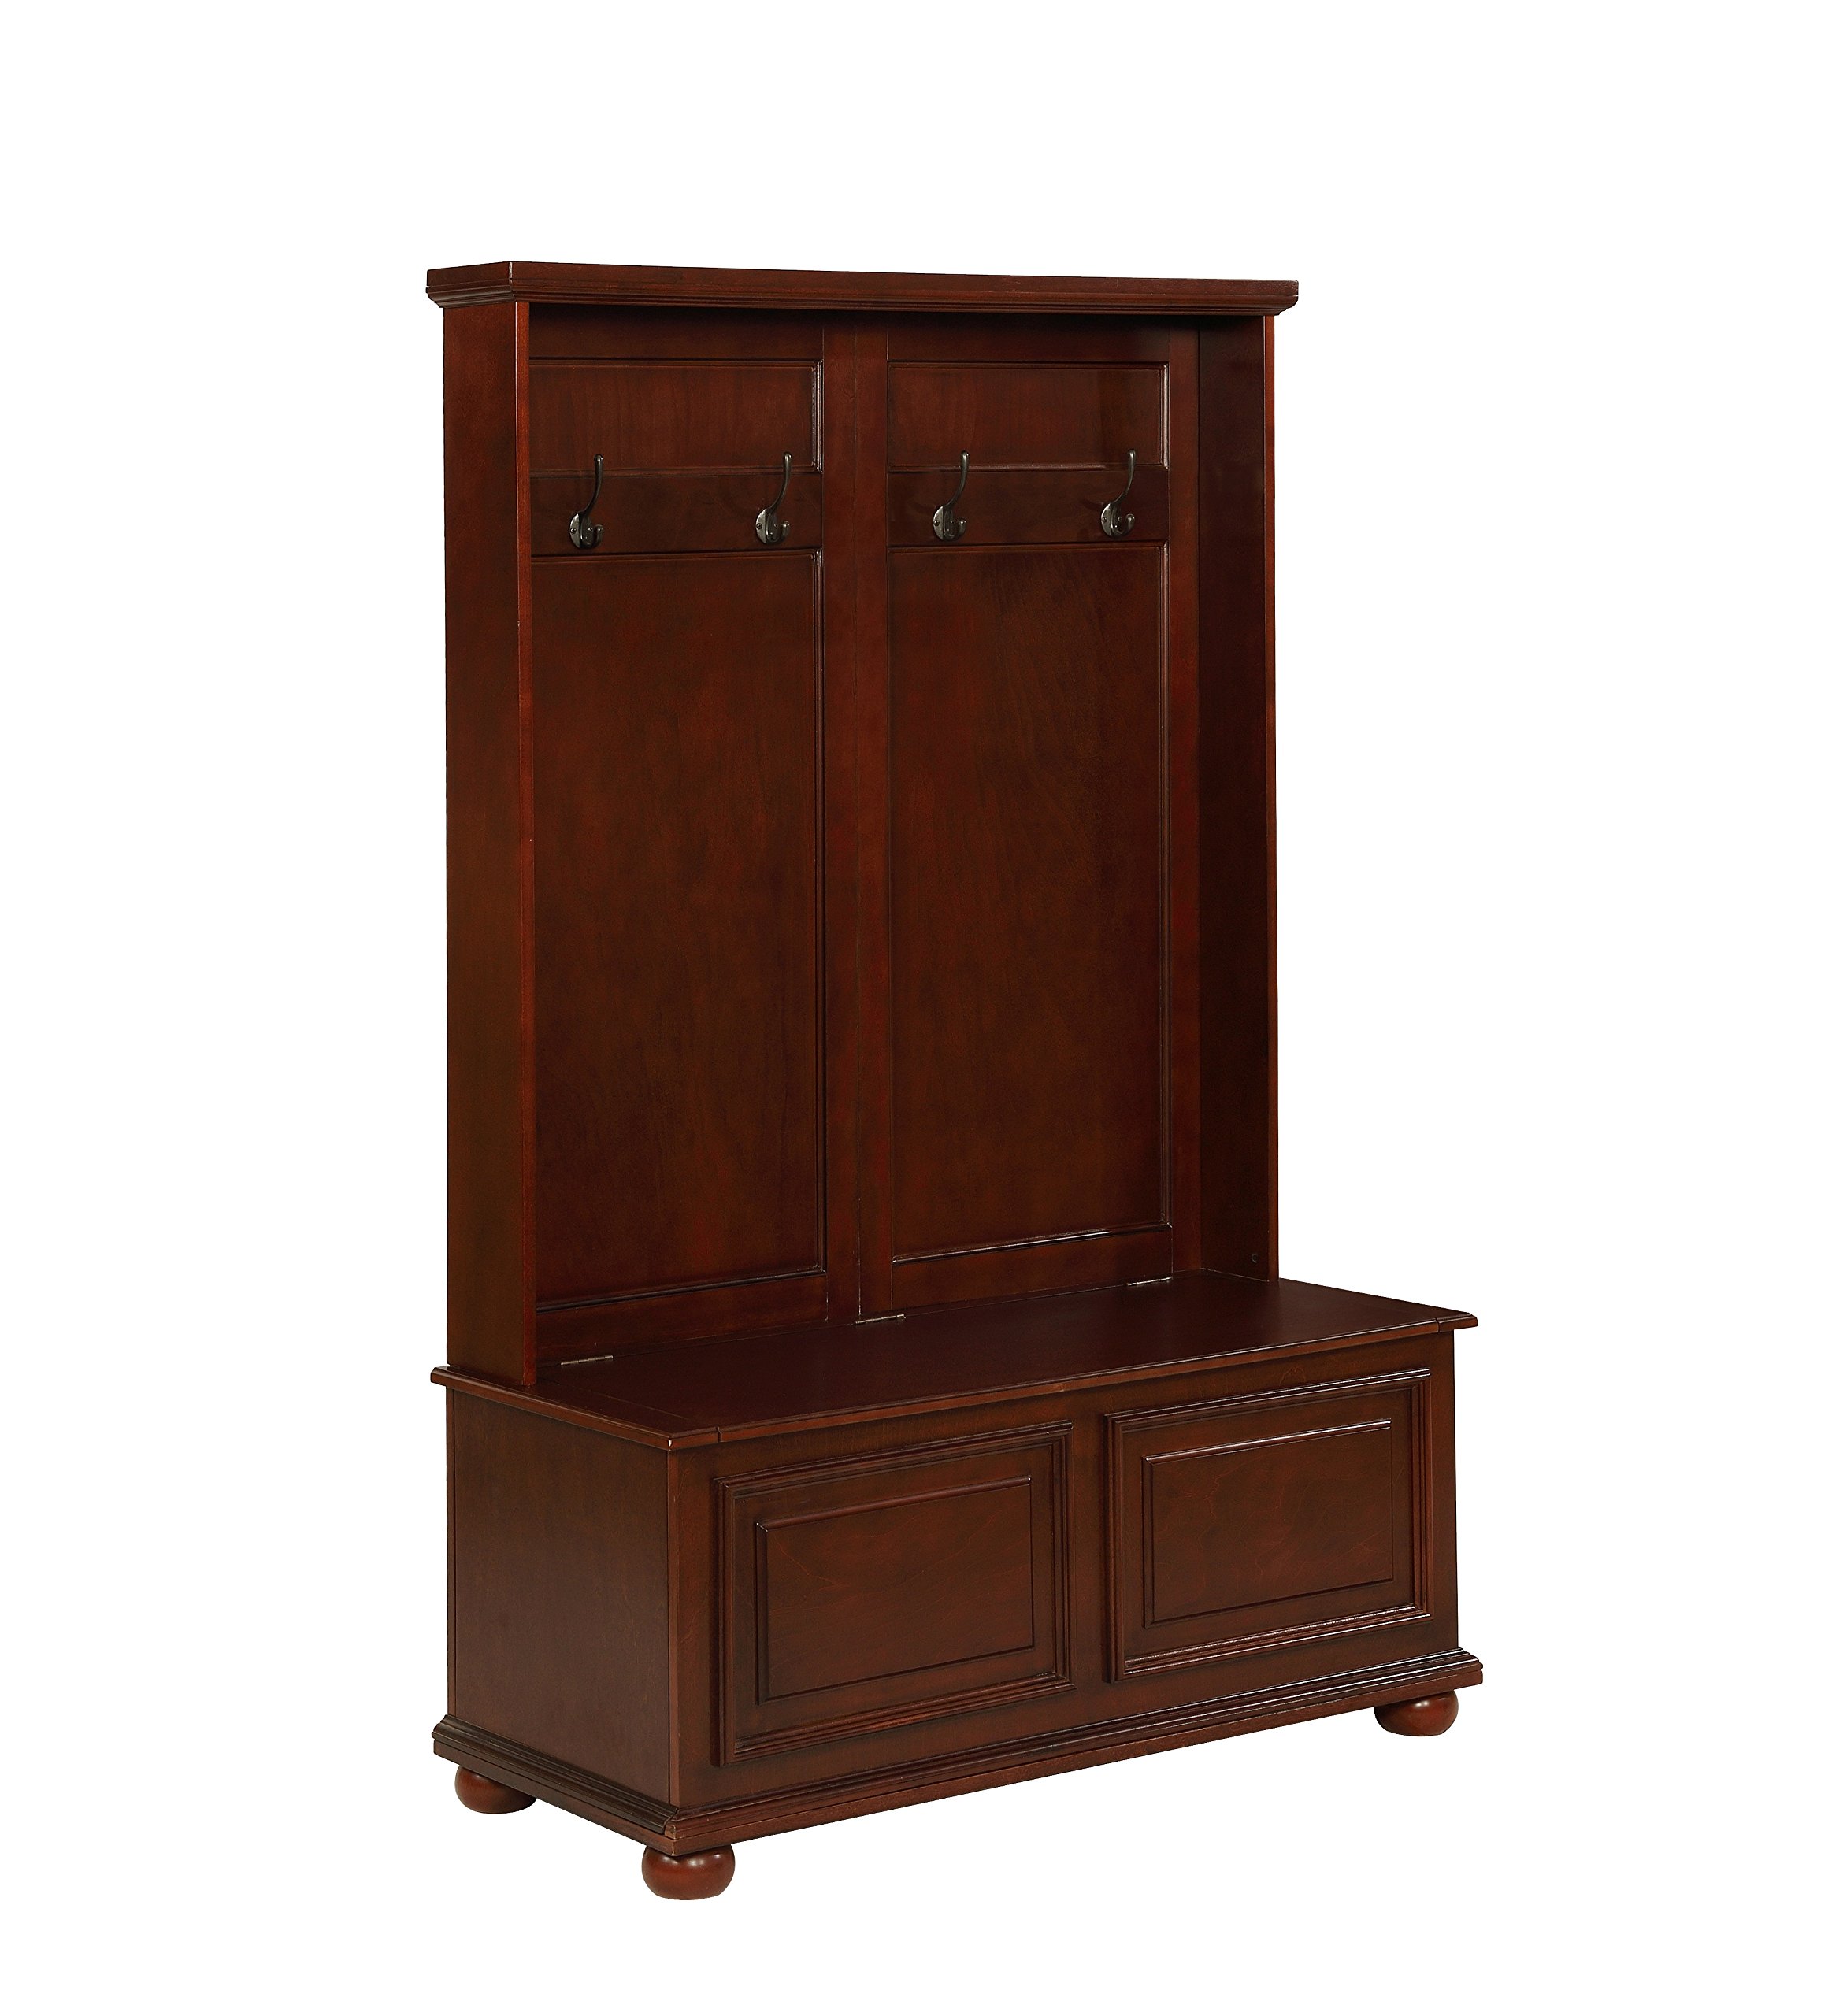
Image: The Chadwick Hall Tree in a home setting, demonstrating its use for hanging items and providing seating.
유지
To maintain the beauty and longevity of your Chadwick Hall Tree, follow these simple care instructions:
- 청소: 부드러운 d로 표면을 닦으십시오.amp 천을 사용하십시오. 마감재를 손상시킬 수 있는 강한 화학 물질, 연마성 세척제 또는 광택제 사용을 피하십시오.
- 가루 살포: 마른 부드러운 천으로 정기적으로 먼지를 닦아주세요.
- 유출: 흘린 액체는 깨끗하고 마른 천으로 즉시 닦아내세요.
- 하드웨어: Periodically check all bolts and screws to ensure they are tight. Re-tighten if necessary, but do not overtighten.
- 햇빛: 직사광선에 장시간 노출시키지 마십시오. 직사광선은 목재 마감재의 퇴색이나 변색을 유발할 수 있습니다.
- 습기: 목재의 팽창이나 수축으로 인한 균열이나 뒤틀림을 방지하려면 집안의 습도를 일정하게 유지하세요.
문제 해결
If you encounter any issues with your Hall Tree, consider the following common solutions:
- 흔들리는 장치: Ensure all assembly bolts and screws are securely tightened. Check that the unit is placed on a level surface.
- Storage Lid Not Closing Smoothly: Verify that the safety hinges are correctly installed and free from obstruction. Do not force the lid.
- 잃어버린 부분들: If any parts were missing upon delivery, please contact customer support with your model number and a description of the missing items.
- 손상된 부품: If any components arrived damaged, contact customer support for assistance.
명세서
| 특징 | 세부 사항 |
|---|---|
| 품목 무게 | 97파운드 |
| 제품 치수 | 18 x 40.47 x 64 인치 |
| 품목 모델 번호 | 15A7058 |
| 조립 높이 | 64.25인치 |
| 조립 폭 | 18인치 |
| 조립 된 길이 | 40.5인치 |
| 조립된 좌석 높이 | 18 인치 |
| 좌석 무게 제한 | 275파운드 |
| Hook Weight Limit | 각각 7파운드 |
| 스토리지 크기 | 폭 34.5인치 x 깊이 13인치 x 높이 12인치 |
| ASIN | B07587B2GX |
| 첫 번째 이용 가능 날짜 | 1년 2016월 XNUMX일 |

Image: Detailed diagram showing the dimensions of the Chadwick Hall Tree.
보증 및 지원
For warranty information or customer support, please refer to the documentation included with your purchase or visit the official Powell Furniture website. If you require replacement parts or further assistance, please have your model number (15A7058) and ASIN (B07587B2GX) ready when contacting support.