
Weiser 9GACS74510-018
Weiser Fairfax Smart Key Entrance and Deadbolt Knobset Instruction Manual
Model: 9GACS74510-018
1. 서론
This manual provides comprehensive instructions for the installation, operation, and maintenance of your Weiser Fairfax Smart Key Entrance and Deadbolt Knobset. Please read these instructions carefully before beginning installation or use to ensure proper function and security.
The Weiser Fairfax combination cylinder and deadbolt set is designed for door thicknesses ranging from 1-3/8" to 1-3/4". It features a universal latch that fits all standard doors and incorporates Weiser's "Securitishield" for increased strength and durability.
2. 제품 오버view 및 기능
The Weiser Fairfax Smart Key Entrance and Deadbolt Knobset offers enhanced security and convenience with its innovative features.
- SmartKey Re-key Technology: Allows you to re-key your lock quickly and easily without removing it from the door. This technology provides advanced security against common break-in techniques.
- 강화된 보안: Features a full 1" projection deadbolt, a 1/4" hardened steel, free-turning roller, and heavy-duty mounting screws. The lock cylinder uses two steel balls to resist drilling attacks.
- 내구성 있는 구조: Made with nickel and steel components, ensuring long-lasting performance.
- Universal Latch: Designed to fit all standard door preparations.
- Adjustable Door Thickness: 두께가 1-3/8" ~ 1-3/4"인 문과 호환됩니다.
제품 구성 요소
패키지에는 다음과 같은 구성 요소가 포함되어 있습니다.
- Exterior Locking Knobset
- 단일 실린더 데드 볼트
- 키
- 장착 하드웨어
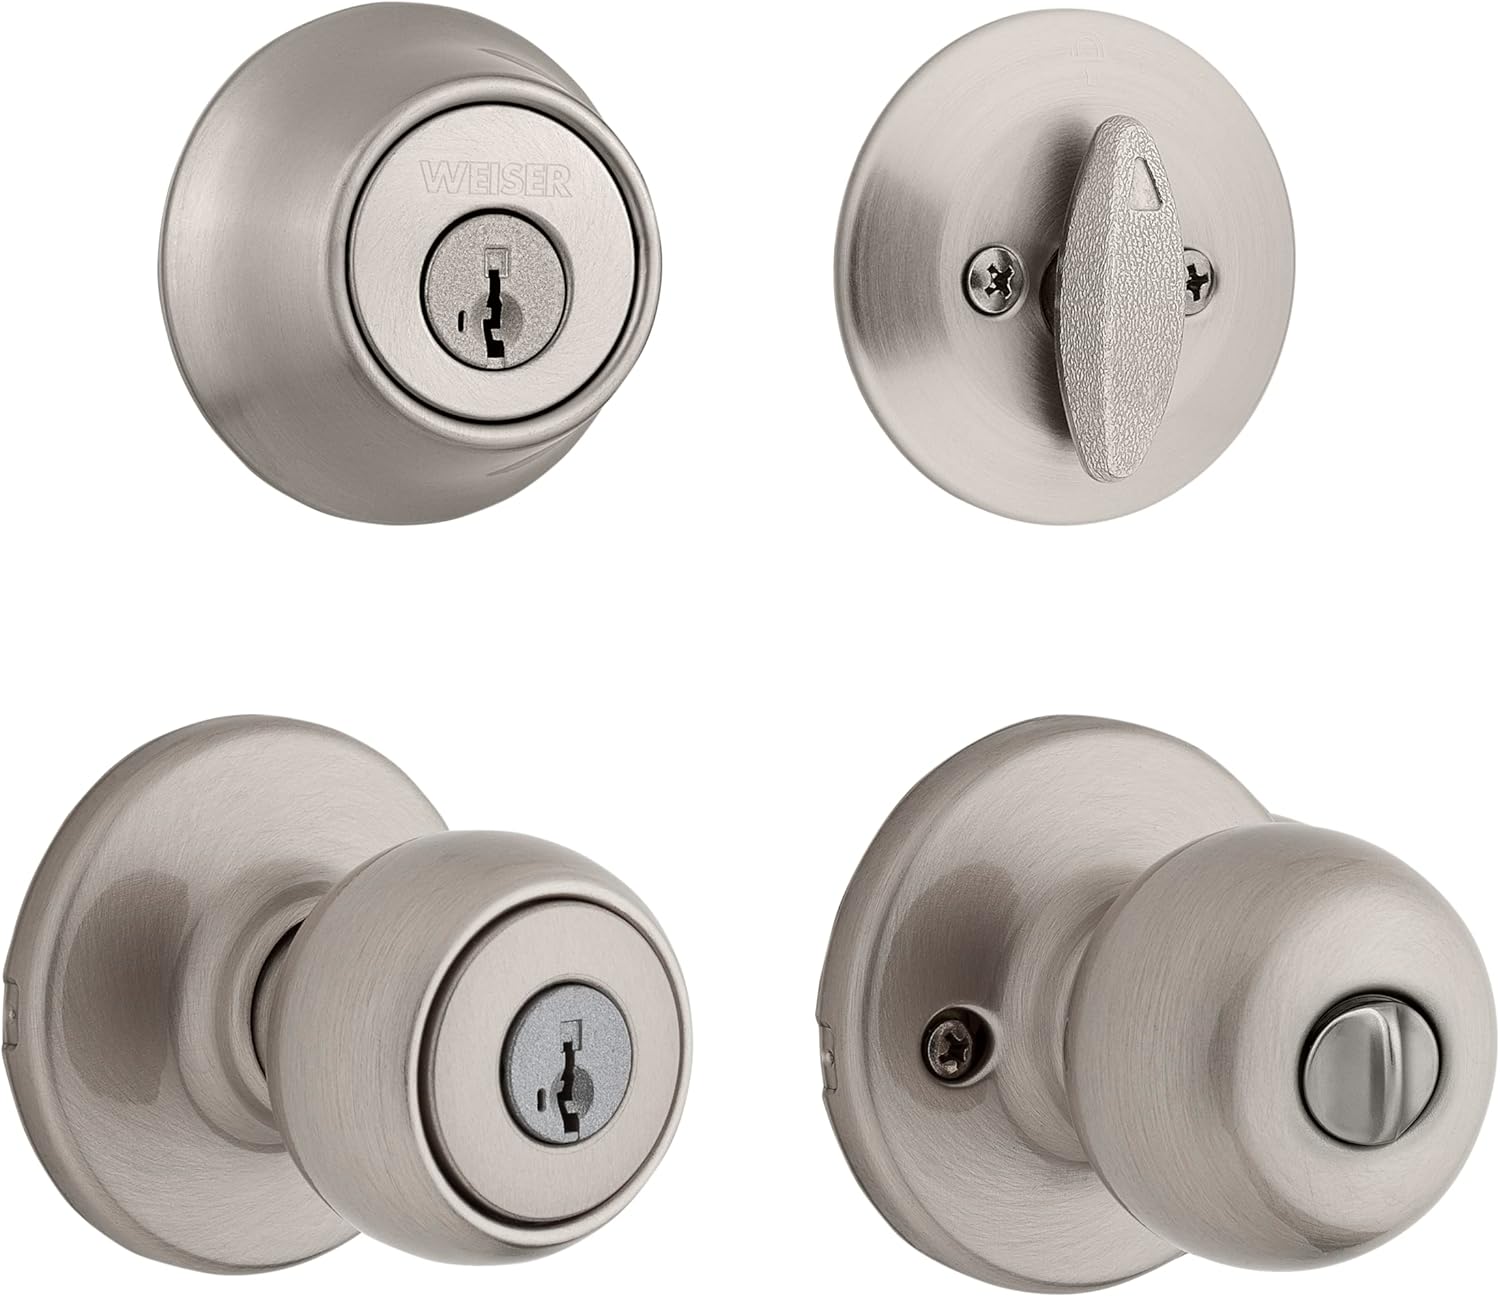
This image displays the complete set, including the exterior knob with keyway and the single cylinder deadbolt, both in a satin nickel finish.

This image highlights the keyway and the satin nickel finish of the knob.

이것 view shows the depth and design of the knob from the side.
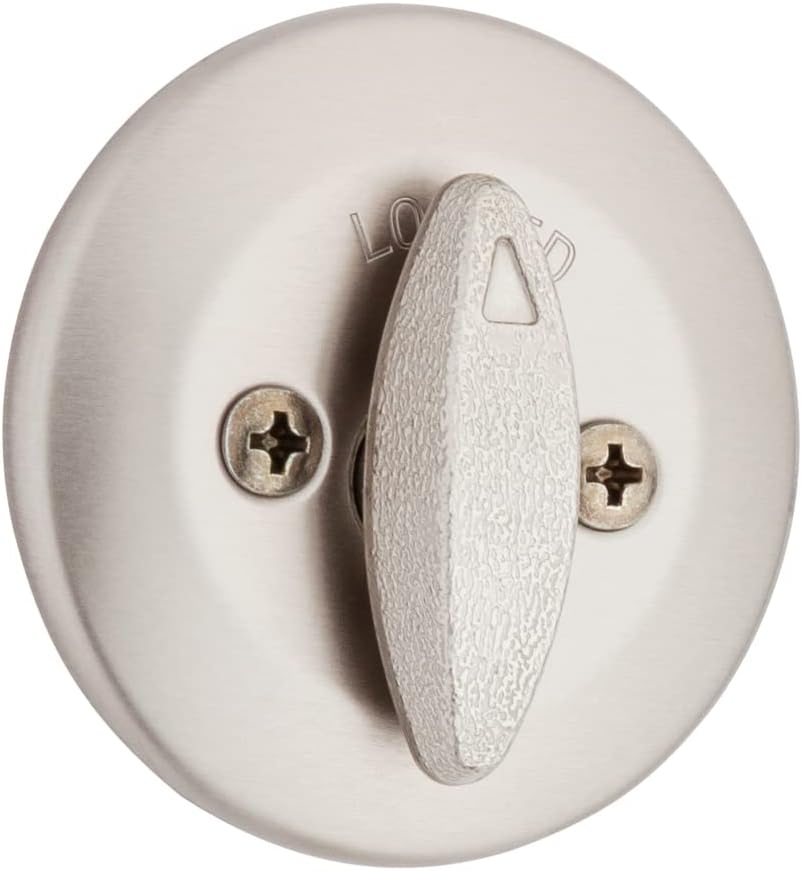
This image shows the internal mechanism and mounting plate of the knob.
3. 설정 및 설치
Before installation, ensure your door is prepared with standard bore holes for both the knobset and deadbolt. Refer to the Fairfax Dimensions image for specific measurements.
3.1 문 준비
Verify that your door thickness is between 1-3/8" and 1-3/4". The universal latch is designed to fit standard backsets (2-3/8" or 2-3/4").

This diagram provides key measurements for the Fairfax knobset, including the overall height (A), projection from the door (B), and knob diameter (C).
3.2 설치 단계
- 래치 설치: Insert the latch into the door edge, ensuring the bevel faces the door frame. Secure with screws.
- 스트라이크 플레이트를 설치하세요: 걸쇠판을 문틀에 부착하고 걸쇠 볼트와 정렬되도록 하십시오.
- Install Exterior Knob: Insert the exterior knob assembly through the door bore hole, ensuring the spindle aligns with the latch mechanism.
- Install Interior Knob: Place the interior knob assembly over the spindle and secure it to the exterior assembly using the provided screws.
- 데드볼트 래치 설치: Insert the deadbolt latch into the door edge, ensuring the bolt extends correctly. Secure with screws.
- Install Deadbolt Cylinder: Insert the exterior deadbolt cylinder through the upper bore hole.
- Install Interior Deadbolt Thumbturn: Attach the interior thumbturn assembly, aligning it with the cylinder tailpiece. Secure with screws.
- 테스트 작업: Close the door and test both the knobset and deadbolt with the key and thumbturn to ensure smooth operation.
For detailed visual instructions, refer to the full installation guide included in your product packaging.
4. 사용 설명서
4.1 잠금 및 잠금 해제
- From Exterior (Knob): Insert the key and turn to lock or unlock the knob.
- From Interior (Knob): Turn the knob to open the door. The knob may have a push-button or turn-button for locking from the inside, depending on the specific model variant.
- From Exterior (Deadbolt): Insert the key and turn to extend or retract the deadbolt.
- From Interior (Deadbolt): Turn the thumbturn to extend or retract the deadbolt.
4.2 스마트키 재설정
The SmartKey technology allows you to re-key your lock to a new key in seconds. This is useful if you've recently moved, lost keys, or wish to use one key for multiple Weiser SmartKey locks.
- 현재 키를 삽입하세요: Insert your currently working key fully into the lock cylinder.
- 턴키 방식: Turn the key 90 degrees clockwise (to the 3 o'clock position).
- SmartKey 도구를 삽입하세요: While holding the key in the 90-degree position, insert the SmartKey reset tool firmly into the small hole next to the keyway. You will feel a click.
- Remove Current Key: Remove the current key while keeping the reset tool inserted.
- 새 키 삽입: Insert the new key fully into the cylinder.
- Remove SmartKey Tool: Remove the SmartKey reset tool.
- 새 열쇠를 돌리세요: Turn the new key 90 degrees counter-clockwise (back to the 12 o'clock position).
- 새 키 테스트: 새 키를 꺼내서 잠금장치가 제대로 작동하는지 확인하십시오.

This diagram illustrates how to use the SmartKey reset tool and a new key to re-key your lock, making previous keys obsolete.
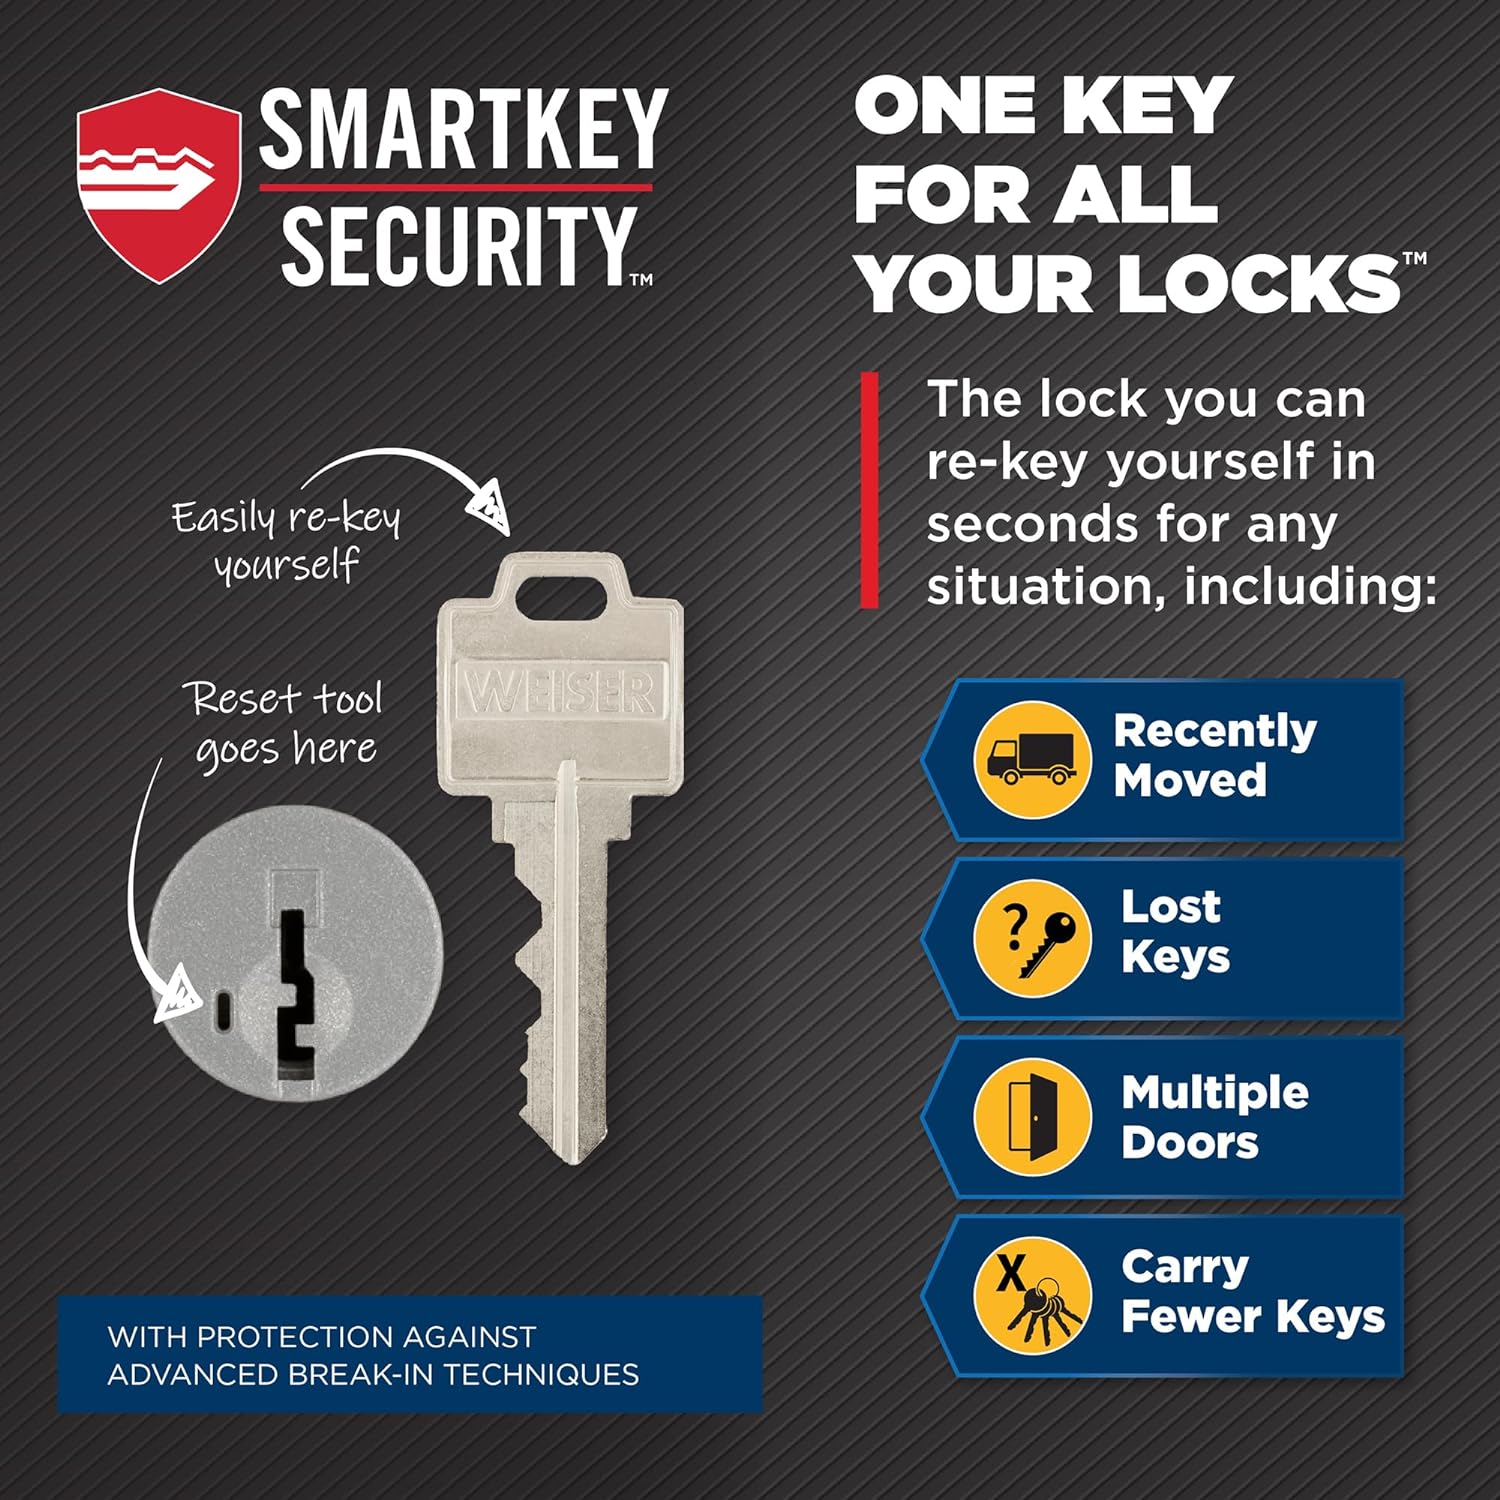
This image details the robust security measures integrated into the SmartKey cylinder, providing protection against various forced entry methods.
5. 유지관리
Proper maintenance will ensure the longevity and smooth operation of your Weiser lockset.
- 청소: 부드러운 천으로 외부 표면을 청소하세요.amp cloth. Avoid abrasive cleaners or solvents, as they can damage the finish.
- 매끄럽게 하기: If the lock mechanism feels stiff, apply a small amount of graphite lubricant or a silicone-based spray lubricant into the keyway and moving parts. Do not use oil-based lubricants, as they can attract dirt.
- 나사 조임 정도: Periodically check and tighten all mounting screws to ensure the lockset remains securely fastened to the door. Do not overtighten.
6. 문제 해결
| 문제 | 가능한 원인 | 해결책 |
|---|---|---|
| 열쇠가 돌아가지 않거나 뻑뻑합니다. | Dirt in keyway, worn key, or misaligned cylinder. | Clean keyway with compressed air. Lubricate with graphite. Try a different key. Check cylinder alignment. |
| 데드볼트가 완전히 확장/수축되지 않습니다. | Strike plate misalignment, door sag, or debris in bolt path. | Adjust strike plate. Check door alignment. Clear any obstructions. |
| 손잡이가 느슨해요. | 장착 나사가 느슨합니다. | 손잡이 안쪽에 있는 장착 나사를 조입니다. |
| SmartKey 재키잉에 실패했습니다. | Incorrect key insertion, tool not fully inserted, or wrong key type. | Ensure current key is fully inserted and turned 90 degrees. Insert reset tool firmly until a click is felt. Use only SmartKey compatible keys. |
If you encounter issues not listed here or if the suggested solutions do not resolve the problem, please contact Weiser customer support.
7. 사양
| 기인하다 | 세부 사항 |
|---|---|
| 상표 | 바이저 |
| 모델 번호 | 9GACS74510-018 |
| 마치다 | 새틴 니켈 |
| 재료 | Nickel, Steel, Alloy Steel |
| 잠금 유형 | Key Lock (SmartKey Re-key Technology) |
| 도어 두께 호환성 | 1-3/8" - 1-3/4" |
| Deadbolt Projection | 1" |
| 품목 무게 | 2 파운드 |
| 제품 치수 | 9 x 9 x 3 인치 |
| 포함된 구성 요소 | Deadbolt, Knob, Key, Lock |
8. 보증 및 지원
Weiser products are backed by a limited lifetime mechanical and finish warranty, and a 1-year electronics warranty (if applicable). For specific warranty details and terms, please refer to the warranty card included with your product or visit the official Weiser web대지.
For technical support, replacement parts, or warranty claims, please contact Weiser Customer Service:
- Web대지: www.weiserlock.com
- 핸드폰: Refer to the Weiser web지역 연락처 사이트.
Please have your product model number (9GACS74510-018) and purchase date available when contacting support.
Ask a question about this manual
Ask about setup, troubleshooting, compatibility, parts, safety, or missing instructions. Manuals+ will review the question and use this page’s manual context to help answer it.