
D-Link DSL-X1852E
D-Link DSL-X1852E WI-FI 6 Wireless AX 1800 Dual-Band Gigabit VDSL2/ADSL2+ IAD User Manual
Model: DSL-X1852E | Brand: D-Link
1. 제품 오버view
The D-Link DSL-X1852E is an advanced Wi-Fi 6 (802.11ax) modem router designed to provide high-speed internet connectivity and robust wireless performance for homes and businesses. It integrates a VDSL2/ADSL2+ modem, a powerful Wi-Fi 6 access point, and multiple Gigabit Ethernet ports, offering a comprehensive networking solution.

그림 1: 전면 view of the D-Link DSL-X1852E modem router, showcasin세련된 디자인과 4개의 외부 안테나가 특징입니다.
주요 특징은 다음과 같습니다.
- Integrated VDSL/ADSL2+ Modem: Supports universal DSL connectivity.
- Wi-Fi 6(802.11ax) 기술: Delivers faster speeds, greater capacity, and reduced network congestion with AX1800 speeds (1200Mbps on 5GHz and 574Mbps on 2.4GHz).
- 기가비트 포트: One dedicated Gigabit WAN port and four Gigabit LAN ports for high-speed wired connections.
- Voice over IP (VoIP): Two FXS ports for connecting traditional phones to make calls over the internet.
- USB 3.0 포트 : 외부 저장 장치를 연결하여 공유하기 위해 file네트워크를 통해.
- 고급 기술: OFDMA and MU-MIMO for efficient data transmission to multiple devices, BSS Colouring for interference reduction, and Target Wake Time (TWT) for improved device battery life.
- VPN 지원 : Built-in VPN Wizard for LAN-to-LAN and remote access VPN connections.
2. 설정 가이드
2.1 패키지 내용
시작하기 전에 상자 안에 모든 물품이 있는지 확인하세요.
- D-Link DSL-X1852E 모뎀 라우터
- 전원 어댑터
- 이더넷 케이블
- DSL 케이블
- 빠른 설치 가이드
- 보증 문서

Figure 2: The product packaging, illustrating the modem router and its included accessories.
2.2 하드웨어 설치
- 위치: Place the router in a central location in your home or office, away from obstructions and sources of interference (e.g., microwaves, cordless phones).
- DSL 회선을 연결하세요: Connect one end of the DSL cable to the DSL port on the back of the router and the other end to your telephone wall jack or DSL splitter.
- 전원 연결: Connect the power adapter to the DC-IN port on the router and plug the other end into a power outlet. Press the ON/OFF button to power on the device.
- 장치 연결(선택 사항):
- For wired devices, connect an Ethernet cable from a LAN port (LAN1-LAN4) on the router to your computer or other network device.
- For VoIP phones, connect them to the Phone1 or Phone2 FXS ports.
- 안테나 조정: Ensure all four external antennas are securely attached and oriented vertically for optimal Wi-Fi coverage.

그림 3: 후면 view of the D-Link DSL-X1852E, showing the power button, DC-IN, USB 3.0, FXS ports (Phone1, Phone2), LAN ports (LAN1-LAN4), WAN port, and DSL port.
2.3 초기 구성
After hardware installation, configure the router via a web 브라우저 :
- 라우터에 연결: Connect your computer to the router either via an Ethernet cable (to any LAN port) or wirelessly using the default Wi-Fi name (SSID) and password printed on the router's label.
- 입장 Web 인터페이스: 열기 web 브라우저와 유형
http://dlinkrouter.localorhttp://192.168.1.1(default IP address) into the address bar and press Enter. - 로그인: Enter the default username and password (usually printed on the router's label or in the Quick Install Guide).
- 설치 마법사를 실행하세요: Follow the on-screen instructions of the setup wizard to configure your internet connection (VDSL/ADSL settings provided by your ISP), Wi-Fi network name (SSID), and password. It is highly recommended to change the default administrator password for security.
3. 사용 설명서
3.1 Wi-Fi 연결
The DSL-X1852E supports dual-band Wi-Fi 6, operating on both 2.4 GHz and 5 GHz frequencies. Wi-Fi 6 technology enhances network efficiency and speed, especially in environments with many connected devices.

Figure 4: Visual representation of Wi-Fi 6 benefits, including exceptional capacity, smart home optimization, next-gen speed and range, and unprecedented efficiency.
- 연결 장치: 검색 기기에서 Wi-Fi 네트워크 이름(SSID)을 확인하고 Wi-Fi 비밀번호를 입력하세요.
- OFDMA: Orthogonal Frequency Division Multiple Access allows small data packets for multiple devices to be transmitted simultaneously, improving efficiency.
- MU-MIMO: Multi-User, Multiple-Input, Multiple-Output technology enables the router to communicate with multiple devices concurrently, enhancing throughput. The DSL-X1852E supports two-way MU-MIMO for both upstream and downstream transmissions.
- BSS Colouring: Reduces interference from neighboring Wi-Fi networks, making more efficient use of the Wi-Fi spectrum.
- 목표 기상 시간(TWT): Allows devices to negotiate when and how often they will wake up to send or receive data, extending battery life for connected devices.
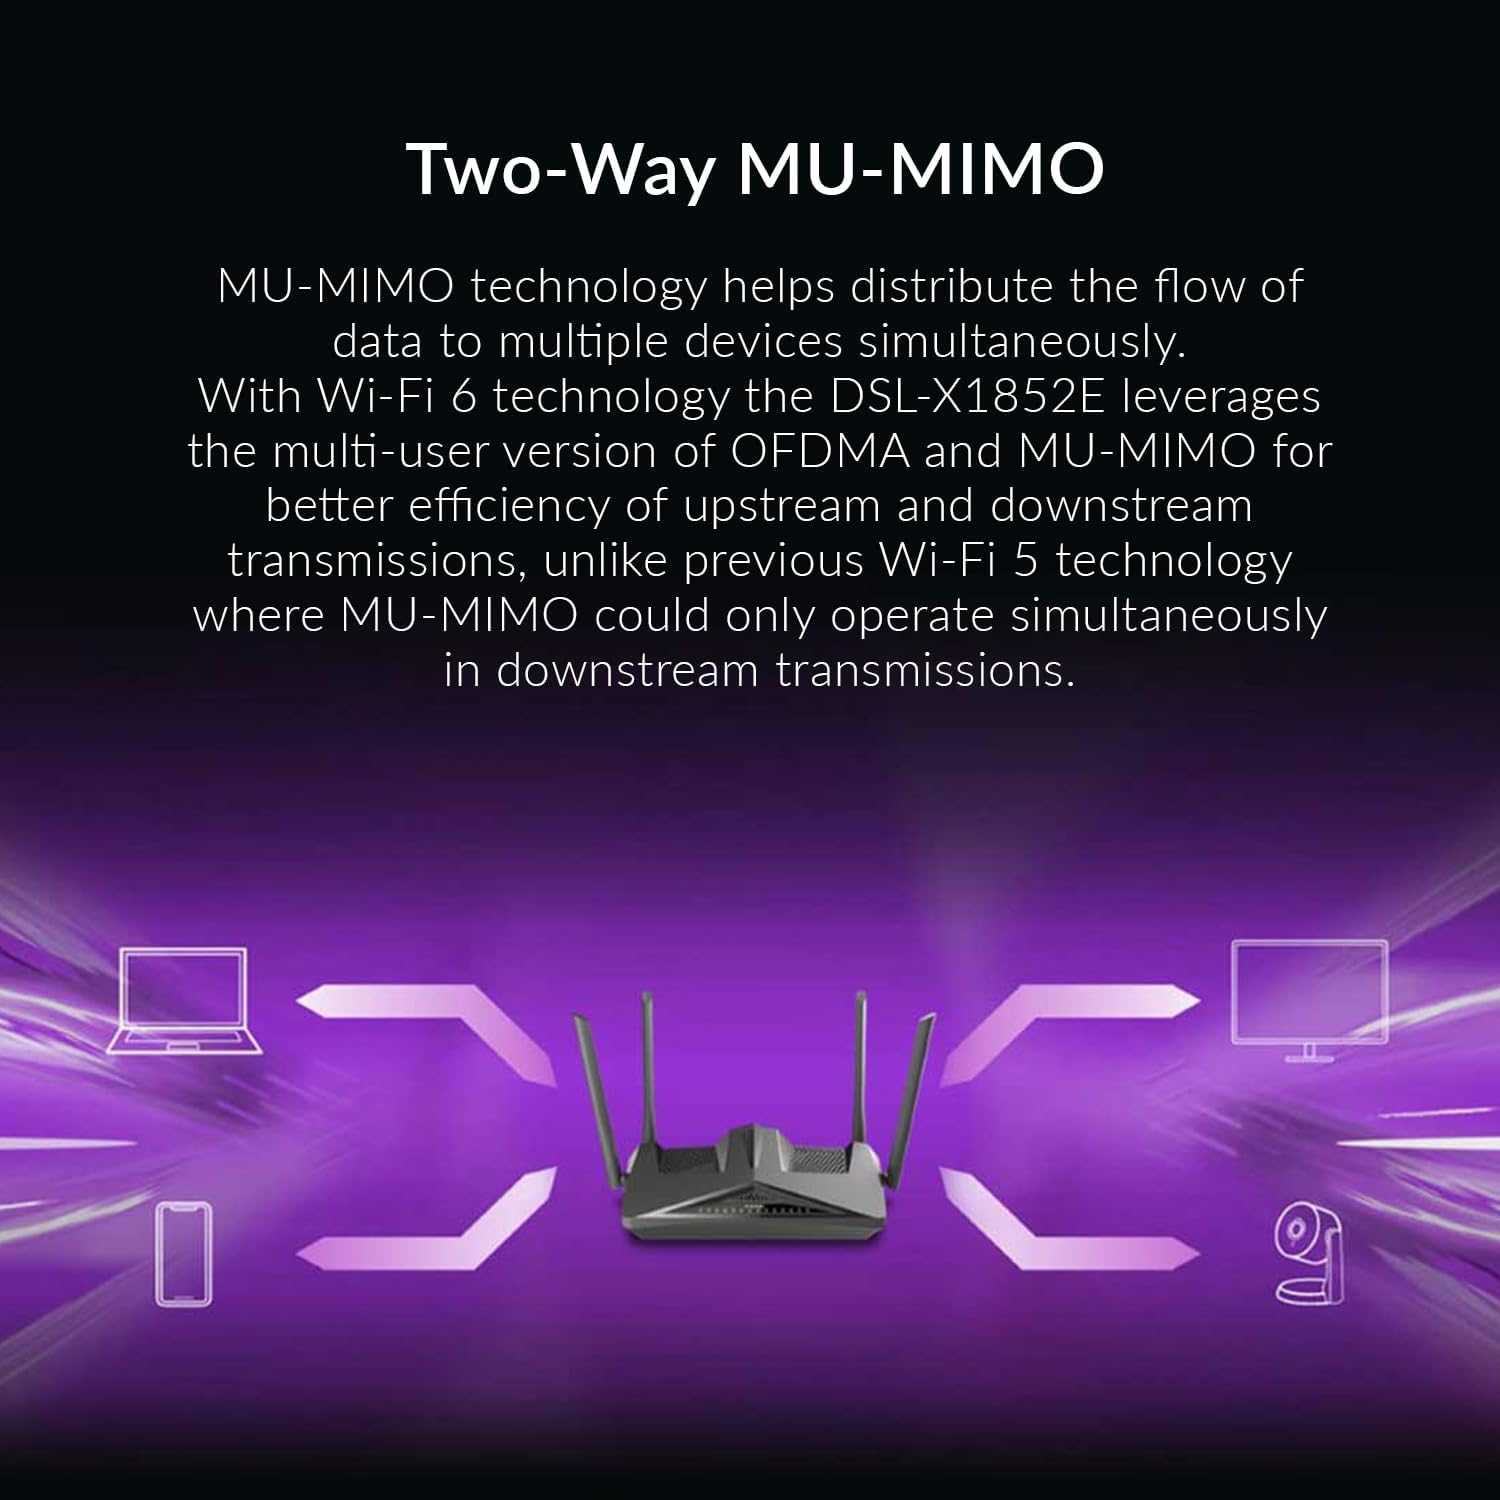
Figure 5: Diagram illustrating how Two-Way MU-MIMO technology enables simultaneous data flow to multiple devices, such as laptops, smartphones, and cameras.
3.2 USB 포트 사용
The USB 3.0 port on the back of the router can be used to connect external storage devices (e.g., USB hard drives, flash drives) to create network-attached storage (NAS). This allows users on the network to access and share files centrally.
- Plug your USB storage device into the USB 3.0 port.
- 라우터에 접근하세요 web 구성할 인터페이스 file sharing settings (e.g., SMB/DLNA server).
3.3 VPN 구성
The DSL-X1852E includes a VPN Wizard to simplify the setup of Virtual Private Network connections. This feature supports both LAN-to-LAN and remote access VPNs, allowing secure communication over public networks.
- Navigate to the VPN section in the router's web 인터페이스.
- Use the VPN Wizard to guide you through the setup process for your desired VPN type.
- The router also supports VPN passthrough, allowing devices connected to it to establish their own outbound VPN connections.
4. 유지관리
4.1 펌웨어 업데이트
Regularly updating the router's firmware is crucial for optimal performance, security, and access to new features. D-Link periodically releases firmware updates to address bugs and improve functionality.
- Visit the official D-Link support website for your region (e.g., D-Link Egypt) to check for the latest firmware version for the DSL-X1852E.
- 펌웨어 다운로드 file and follow the instructions provided on the support website or within the router's web interface to perform the update.
- 중요한: 펌웨어 업데이트 중에는 라우터 전원을 끄지 마십시오.
4.2 공장 초기화
A factory reset can resolve persistent issues or restore the router to its default settings. This will erase all custom configurations, including Wi-Fi settings and passwords.
- With the router powered on, locate the recessed Reset (RST) button on the back panel.
- Use a paperclip or a similar pointed object to press and hold the RST button for approximately 10 seconds until the power LED blinks.
- 버튼을 놓으세요. 라우터가 공장 초기 설정으로 재시작됩니다.
5. 문제 해결
This section provides solutions to common issues you might encounter with your D-Link DSL-X1852E modem router.
5.1 인터넷 접속 불가
- 케이블 확인: Ensure the DSL cable is securely connected to the router's DSL port and the wall jack. Verify Ethernet cables are properly connected if using wired devices.
- Modem Lights: Check the DSL and Internet indicator lights on the router. If they are off or blinking, there might be an issue with your DSL line or ISP connection.
- ISP 설정: Confirm that the VDSL/ADSL settings (VPI/VCI, encapsulation, connection type) in the router's web interface match those provided by your Internet Service Provider (ISP). Incorrect settings are a common cause of no internet.
- 재부팅: Power cycle the router by unplugging the power adapter, waiting 30 seconds, and then plugging it back in.
- 펌웨어: Ensure your router has the latest firmware, especially if experiencing persistent connectivity issues. Note that some region-specific firmware versions may have limitations or bugs.
5.2 Wi-Fi 연결 문제
- 잘못된 비밀번호: Double-check that you are entering the correct Wi-Fi password. Passwords are case-sensitive.
- 신호 강도: Ensure your device is within range of the router. Walls and other obstructions can weaken the Wi-Fi signal.
- 간섭: Other electronic devices (e.g., cordless phones, microwaves) can interfere with Wi-Fi signals. Try changing the Wi-Fi channel in the router's settings.
- 장치 호환성: Ensure your device supports Wi-Fi 6 (802.11ax) for optimal performance, though it is backward compatible with older Wi-Fi standards.
5.3 USB Storage/DLNA Not Working
- 체재: Ensure the USB drive is formatted in a compatible file 시스템(예: FAT32, NTFS).
- 힘: For external hard drives, ensure they have their own power supply if required.
- 라우터 설정: Verify that the USB sharing and DLNA/SMB server features are enabled in the router's web 인터페이스.
6. 사양
| 특징 | 설명 |
|---|---|
| 모델명 | DSL-X1852E |
| 상표 | 디링크 |
| 연결 기술 | Wi-Fi, Ethernet, DSL |
| 무선 표준 | 802.11ax(와이파이 6) |
| 주파수 대역 클래스 | 듀얼 밴드(2.4GHz 및 5GHz) |
| 와이파이 속도 | Up to AX1800 (574 Mbps on 2.4 GHz, 1200 Mbps on 5 GHz) |
| DSL 호환성 | VDSL2/ADSL2+ |
| 이더넷 포트 | 4 x 기가비트 LAN, 1 x 기가비트 WAN |
| USB 포트 | 1개의 USB 3.0 |
| FXS Ports (VoIP) | 2 |
| 안테나 | 4 x 외부 안테나 |
| 보안 | WPA3 암호화 |
| 치수(길이 x 너비 x 높이) | 30 x 11 x 27cm |
| 무게 | 1.5kg |
| 원산지 | 중국 |
7. 보증 및 지원
7.1 제품 보증
For information regarding the warranty period and terms for your D-Link DSL-X1852E, please refer to the warranty card included in your product packaging or visit the official D-Link website for your region. D-Link offers various extended warranty options through authorized resellers.
- 1년 연장 보증: Salama Care(이메일 전달)를 통해 이용 가능합니다.
- 2년 연장 보증: Salama Care(이메일 전달)를 통해 이용 가능합니다.
7.2 기술 지원
If you encounter issues that cannot be resolved using this manual, or require further assistance, please contact D-Link Technical Support. Support resources typically include:
- 온라인 지원: Visit the D-Link support web자주 묻는 질문, 문제 해결 가이드 및 펌웨어 다운로드를 위한 사이트입니다.
- 전화 지원: Contact D-Link's regional support hotline during business hours.
- 커뮤니티 포럼: Engage with other D-Link users and experts on official forums.
When contacting support, please have your product model number (DSL-X1852E) and serial number ready. The serial number is usually located on a sticker on the bottom of the device.
Ask a question about this manual
Ask about setup, troubleshooting, compatibility, parts, safety, or missing instructions. Manuals+ will review the question and use this page’s manual context to help answer it.