
EMART 10x7ft
EMART 10x7ft Photo Studio Adjustable Background Support Kit Instruction Manual
Model: 10x7ft
소개
This instruction manual provides detailed guidance for setting up, operating, and maintaining your EMART 10x7ft Photo Studio Adjustable Background Support Kit. Learn how to assemble the stand, adjust its dimensions, and utilize included accessories for various photography and event needs. Please read this manual thoroughly before use to ensure proper setup and safe operation.
상자 안에 무엇이 들어있나요?
The EMART 10x7ft Photo Studio Adjustable Background Support Kit includes the following components:
- 1 x Backdrop Stand (consisting of 2 tripod bases and 2 crossbar sections)
- 배경막 8개amps
- 2 x Sandbags (empty, for stability)
- 1 x 운반 가방
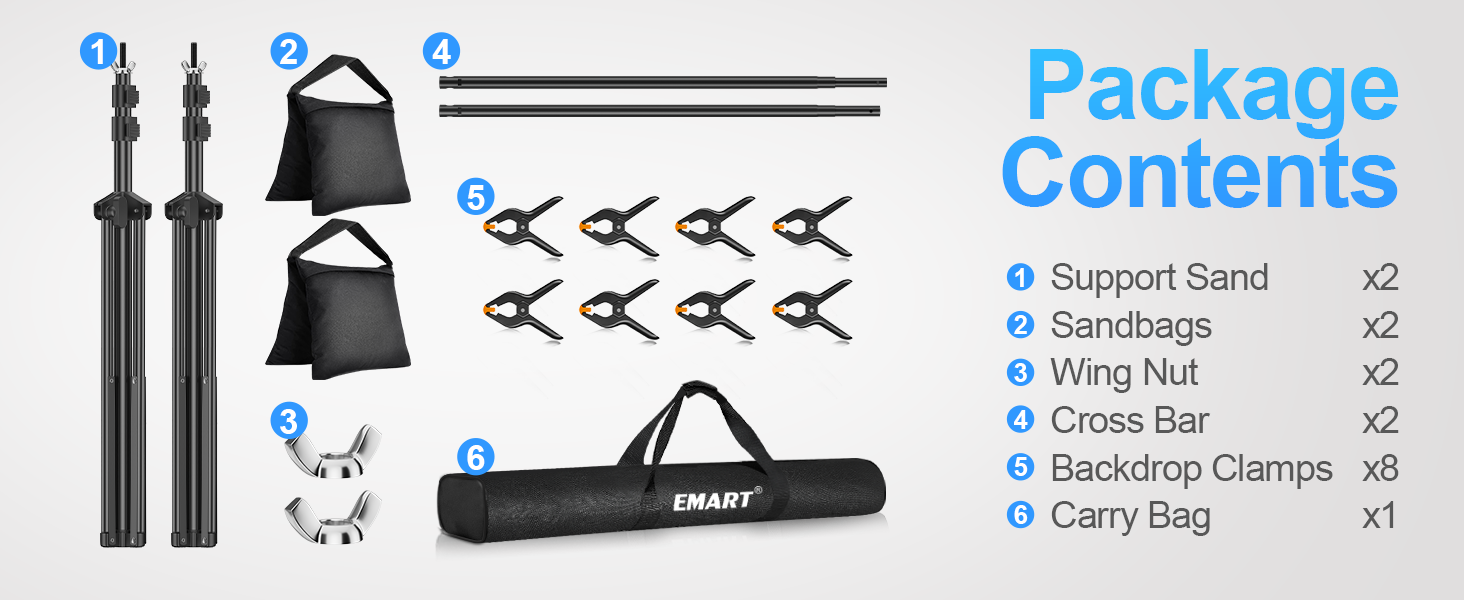
Image: All components of the EMART Backdrop Stand Kit, including two tripod stands, two crossbar sections, eight clamps, two sandbags, and a carrying bag.
설치 지침
Follow these steps to assemble your EMART Backdrop Stand:
- 1. Prepare the Tripod Bases:
Unfold the legs of each tripod base until they are fully extended and stable. Tighten the knob on each tripod to secure the legs in place. Ensure the tripod base is stable before proceeding.

Image: Step-by-step visual guide showing how to open the tripod legs and tighten the knob for stability.
- 2. Adjust Tripod Height:
Loosen the flip-locks on the tripod poles and extend them to your desired height (adjustable from 2.6ft/0.8m to 7.0ft/2.1m). Securely fasten the flip-locks once the desired height is reached.

Image: Illustration demonstrating the adjustable height range of the tripod stands, from minimum to maximum extension.
- 3. Assemble the Crossbar:
Connect the two crossbar sections by sliding one into the other. The crossbar is retractable and can be adjusted from 5.3ft/1.58m to 10ft/3m in width. Twist to lock the sections at your desired length.

Image: Diagram showing how to connect the crossbar sections and adjust its length, highlighting the retractable design.
- 4. Attach Crossbar to Tripods:
Place each end of the assembled crossbar onto the top pins of the tripod stands. Secure the crossbar by tightening the wing nuts on the tripod pins.
- 5. Secure Backdrop (Optional):
If using a backdrop, drape it over the crossbar. Use the provided backdrop clamps to secure the backdrop to the crossbar and the vertical poles, ensuring it is taut and wrinkle-free.

Image: Visual representation of the 4.5-inch clamps, quick flip-locks for height adjustment, and durable sandbags for added stability.
- 6. Add Stability with Sandbags:
Fill the provided sandbags with sand, rocks, or soil. Attach one sandbag to the base of each tripod stand to enhance stability, especially when using heavier backdrops or in windy conditions.
Video: A seller-provided video demonstrating the easy setup of the EMART backdrop stand, including the use of clamps and sandbags.
작동 지침
The EMART Backdrop Stand is designed for versatile use in various settings:
- 사진술: Ideal for professional photo studio shooting, newborn photography, baby photo shoots, and product displays.
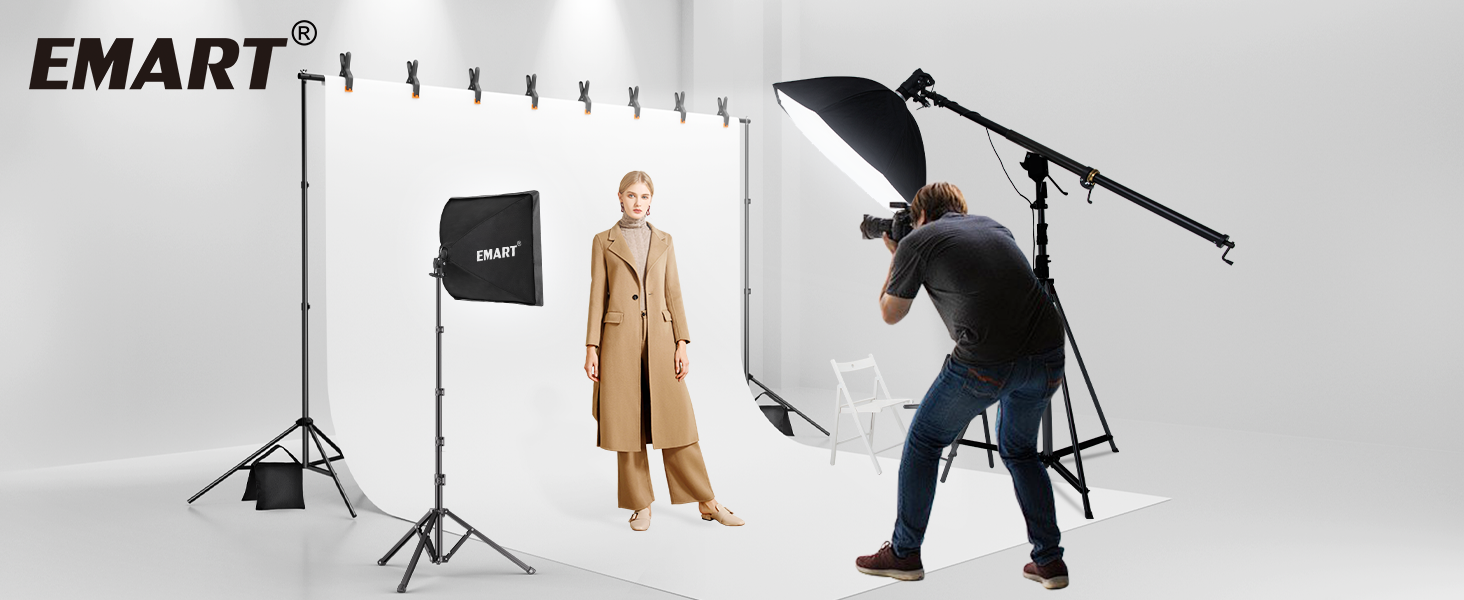
Image: A professional photo studio setup utilizing the EMART backdrop stand with a white background and lighting equipment.
- Events & Decorations: Perfect for parties, event decorations, weddings, and DIY photo booths.

Image: The backdrop stand decorated for a Christmas party, showcasing its use for holiday events.

Image: A wedding arch setup using the EMART backdrop stand, adorned with flowers and drapes.
- 비디오 제작: Suitable for shooting videos and live streaming.
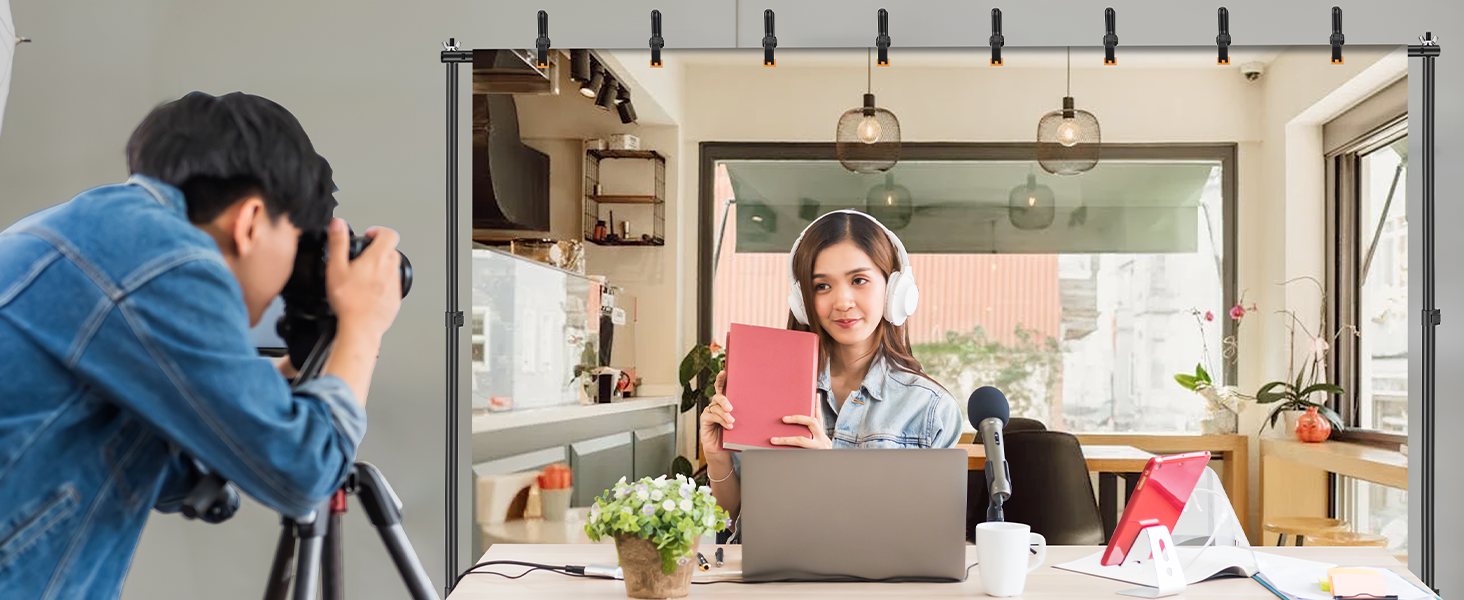
Image: A person recording a video with the EMART backdrop stand set up in a cafe-like environment.
- Projector Screen Stand: Can also be used as a projector screen stand for movie nights.
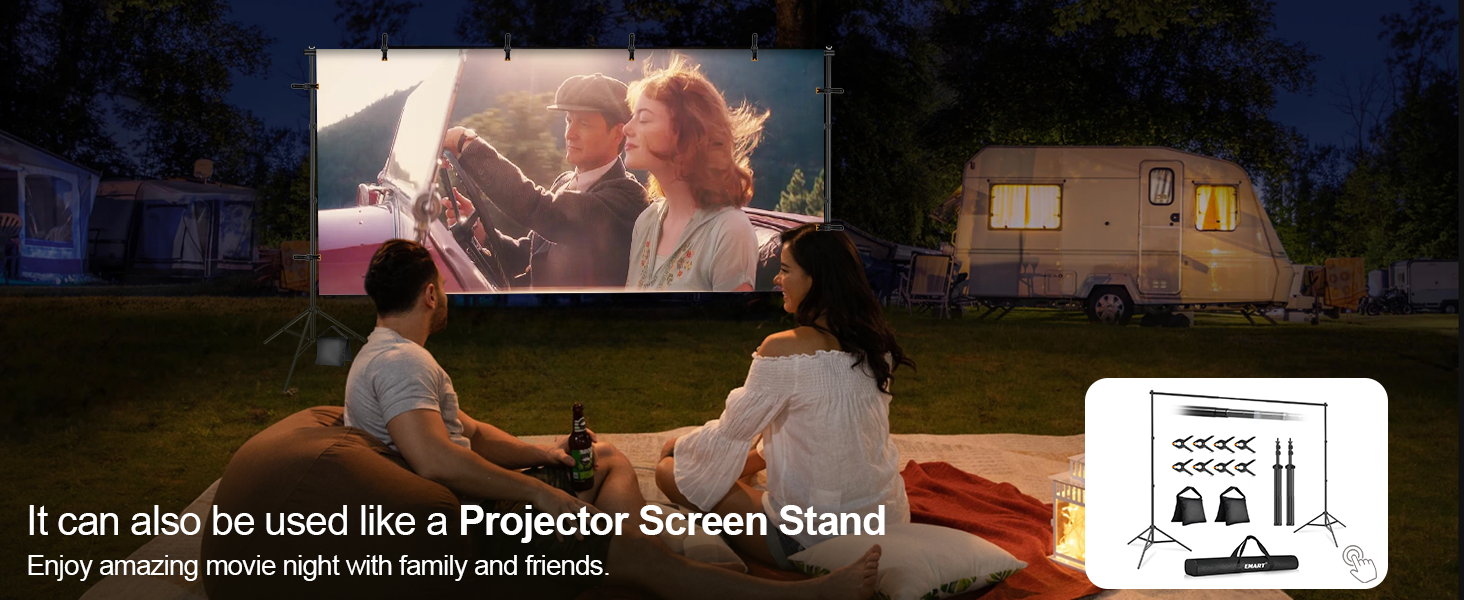
Image: A family enjoying an outdoor movie night with the EMART backdrop stand serving as a projector screen.
중요 참고 사항: Due to gravity, the crossbar may bend slightly when fully stretched. It is not recommended to hang objects over 10 lbs. Always use sandbags to add weight for stability, especially in windy conditions.
유지
- 모든 부품에 마모나 손상 흔적이 있는지 정기적으로 점검하십시오.
- Clean the aluminum poles with a soft, damp 옷감. 연마성 세제를 피하십시오.
- Ensure all knobs and fasteners are tightened before each use to maintain stability.
- Store the stand in its carrying bag in a dry, cool place when not in use to protect it from dust and damage.
문제 해결
- 받침대가 흔들거립니다. Ensure all tripod legs are fully extended and the knobs are securely tightened. Always use sandbags at the base of each tripod for maximum stability.
- Crossbar sags: The crossbar is designed to support up to 10 lbs. If using a heavier backdrop, consider distributing the weight evenly or using additional support. Ensure the crossbar sections are twisted and locked firmly.
- Difficulty adjusting height/width: Check that all flip-locks and wing nuts are loosened before attempting to adjust. Do not force components.
명세서
| 특징 | 세부 사항 |
|---|---|
| 상표 | 이마트 |
| 모델 | 10x7ft Black |
| 재료 | 알류미늄 |
| 높이 조절 가능 | 2.6ft (0.8m) – 7.0ft (2.1m) |
| 조정 가능한 폭 | 5.3ft (1.58m) – 10ft (3m) |
| Max Load Capacity (Crossbar) | 10파운드 |
| 품목 무게 | 3.5 킬로그램 |
| 품목 치수(L x W x H) | 33.5 x 3.54 x 6.49인치(포장) |
| 포함된 구성 요소 | Backdrop stand x1, backdrop clamp x 8, carrying bag x 1 |
보증 및 지원
For warranty information or customer support, please refer to the product packaging or contact EMART customer service directly. This product typically includes a 30-day return policy for refunds or replacements.
Ask a question about this manual
Ask about setup, troubleshooting, compatibility, parts, safety, or missing instructions. Manuals+ will review the question and use this page’s manual context to help answer it.