
1. 서론
This manual provides detailed instructions for the safe and proper installation and operation of your Techly Tilting Wall Mount, Model B00DEBVVHS. This wall mount is designed to securely hold LED/LCD TVs ranging from 13 to 30 inches, with a maximum weight capacity of 23 kg (51 lbs). It features adjustable mounting holes compatible with VESA standards 75x75 mm and 100x100 mm, and offers a tilt range of +/- 15 degrees for optimal viewing angles. The mount maintains a distance of 98 mm from the wall.
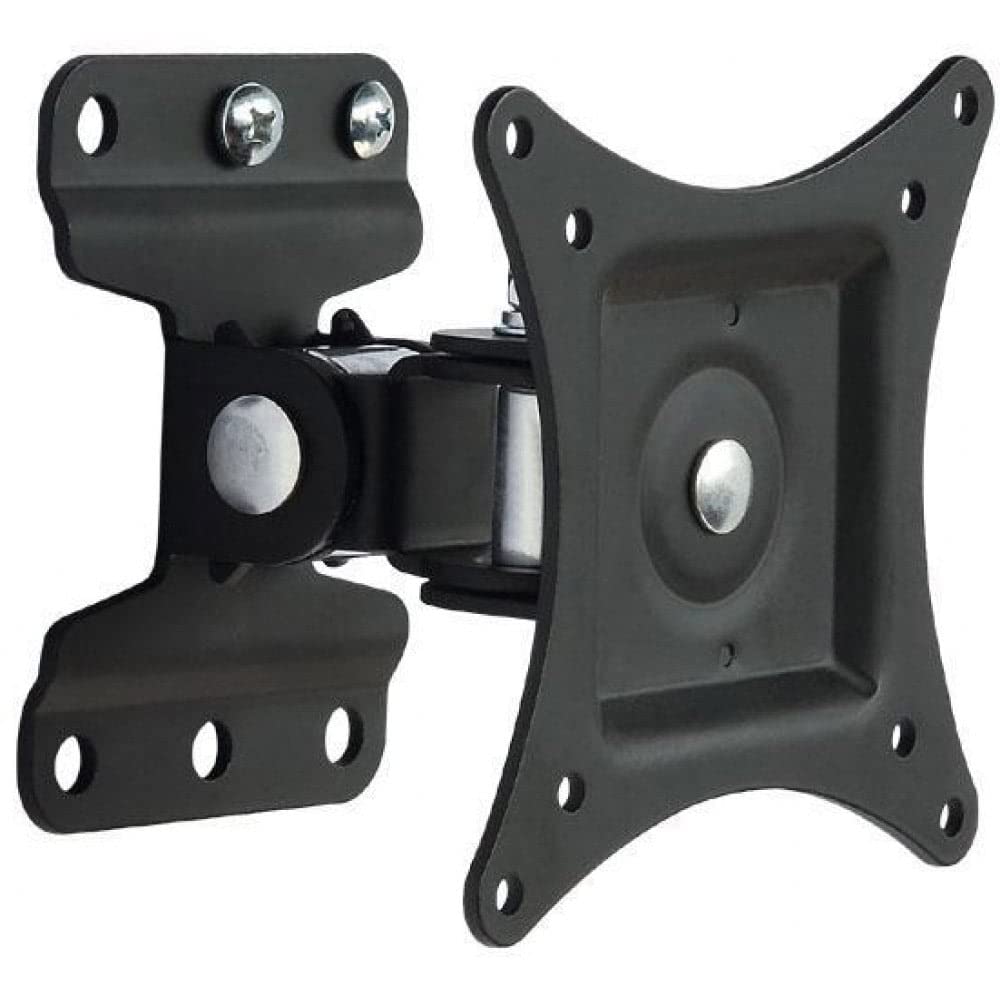
이미지 1.1: 앞면 view of the Techly Tilting Wall Mount.
2. 안전 정보
- 모든 지침을 주의 깊게 읽으십시오. Before installation, ensure you understand all instructions. If you have any doubts, consult a qualified professional.
- 중량 용량: 최대 하중 용량인 23kg(51lbs)을 초과하지 마십시오. 과부하는 심각한 부상이나 재산 피해를 초래할 수 있습니다.
- 화면 크기: This mount is designed for TVs between 13 and 30 inches. Using it with TVs outside this range may compromise stability.
- 벽 유형: Ensure the mounting surface can safely support the combined weight of the mount and your TV. This mount is intended for installation on solid concrete walls, brick walls, or wood stud walls. Do not install on drywall alone.
- 도구: Use appropriate tools for installation. Wear safety glasses and other protective gear as needed.
- 어린이들: 설치 장소에 어린이가 접근하지 못하도록 하십시오.
- 유지: 거치대가 안전하게 고정되어 있는지, 모든 고정 장치가 단단히 조여져 있는지 주기적으로 확인하십시오.
3. 패키지 내용
설치를 시작하기 전에 모든 구성품이 있는지 확인하십시오. 부품이 누락되었거나 손상된 경우 설치를 진행하지 말고 고객 지원팀에 문의하십시오.
- Wall Mount Assembly (1 unit)
- Mounting Hardware (screws, anchors, washers, spacers)
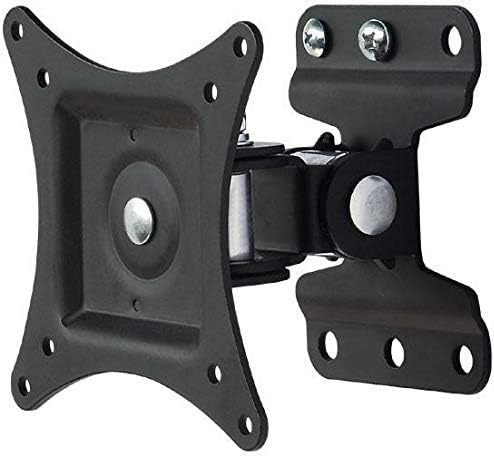
이미지 3.1: View of the wall mount components, including the main bracket and articulating arm.
4. 사양
| 모델 | B00DEBVVHS |
| 상표 | 기술적으로 |
| 장착 유형 | 벽걸이형 |
| 이동 유형 | 관절형, 기울기 |
| 호환되는 화면 크기 | 13~30인치 |
| 최대 TV 무게 | 23kg(51파운드) |
| VESA 호환성 | 75x75 mm, 100x100 mm |
| 기울기 각도 | +/- 15도 |
| 벽과의 거리 | 98의 mm (3.9 인치) |
| 재료 | 알류미늄 |
| 색상 | 검은색 |
Image 4.1: Technical drawing showing key dimensions and VESA mounting points.
5. 설정 및 설치
필요한 도구 (포함되지 않음) : Pencil, Stud Finder (for wood studs), Drill, Drill Bits (appropriate for wall type), Level, Phillips Head Screwdriver, Socket Wrench.
1단계: TV 브래킷을 TV에 부착하세요
- 화면 손상을 방지하기 위해 TV를 부드럽고 깨끗한 표면에 화면이 아래로 향하도록 조심스럽게 놓으십시오.
- TV 뒷면에 있는 VESA 장착 구멍을 확인하세요.
- Select the appropriate screws, washers, and spacers from the provided hardware kit that fit your TV's mounting holes. Ensure the screws are not too long, which could damage internal components, or too short, which would not provide a secure fit.
- Attach the VESA plate of the wall mount to the back of your TV using the selected hardware. Tighten securely, but do not overtighten.

Image 5.1: The VESA plate of the mount, which attaches to the TV.
Step 2: Mark Drilling Holes on the Wall
- Determine the desired height for your TV. Consider view각도와 가구 배치.
- Hold the wall plate portion of the mount against the wall at the desired height. Use a level to ensure it is perfectly horizontal.
- Mark the drilling locations through the holes on the wall plate using a pencil.
- For wood stud installation, use a stud finder to locate the center of a wood stud and ensure at least two mounting holes align with the stud.
Step 3: Drill Holes and Install Wall Plate
- Drill pilot holes at the marked locations. The drill bit size will depend on your wall type and the anchors/screws provided.
- For concrete/brick walls, insert the plastic wall anchors into the drilled holes. Tap gently with a hammer until flush with the wall surface.
- Position the wall plate over the drilled holes and secure it to the wall using the provided screws and washers. Tighten all screws firmly to ensure the wall plate is securely fastened.
4단계: TV를 벽면 고정판에 장착합니다.
- With assistance, carefully lift the TV (with the VESA plate attached) and align the VESA plate with the arm extending from the wall plate.
- Slide the VESA plate onto the arm until it clicks into place or can be secured with the provided locking mechanism (if applicable).
- TV가 벽걸이에 단단히 부착되었는지 다시 한 번 확인하십시오.asin지.
6. 마운트 작동
This wall mount allows for tilting adjustments to achieve your preferred view잉 각도.
- 기울이기: The mount allows for a tilt range of +/- 15 degrees. To adjust the tilt, gently push or pull the top or bottom of your TV to the desired angle. The friction mechanism will hold the TV in place.
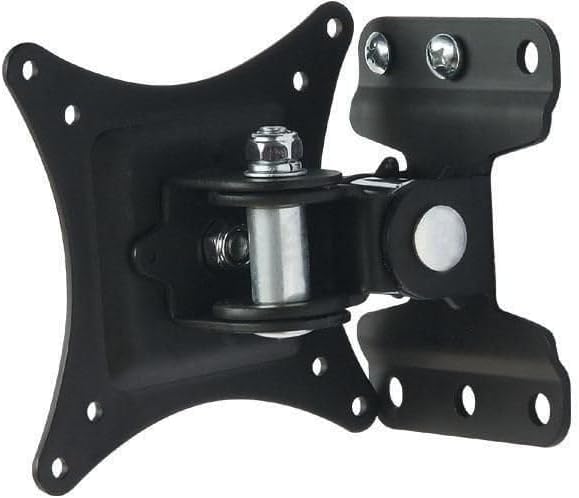
Image 6.1: Diagram illustrating the +/- 15 degree tilt capability of the mount.
7. 유지관리
- 청소: 부드럽고 마른 천으로 마운트를 닦으세요. 연마성 세제나 용제를 사용하지 마세요.
- 정기 점검: Regularly inspect the mount and all fasteners to ensure they remain tight and secure. If any components appear loose or damaged, tighten them or replace them immediately.
- 매끄럽게 하기: The articulating joints are designed for smooth movement. No lubrication is typically required.
8. 문제 해결
- TV가 수평이 아닙니다: Ensure the wall plate was installed level. If not, remove the TV, loosen the wall plate screws, adjust with a level, and re-tighten.
- 마운트가 느슨해진 느낌: Check all screws securing the mount to the wall and the TV to the mount. Tighten any loose fasteners. Do not overtighten.
- TV를 기울이는 데 어려움: Ensure no cables are obstructing the movement. The tilt mechanism is designed to hold position, so some resistance is normal. If it's excessively stiff, check for any debris in the joint.
- Mounting screws do not fit TV: Refer to your TV's manual for correct VESA screw sizes. The provided hardware kit includes common sizes, but some TVs may require specific screws.
9. 보증 정보
This Techly Tilting Wall Mount comes with a 2년 보증 구매일로부터 적용됩니다. 본 보증은 정상적인 사용 조건에서 발생하는 제조상의 결함 및 재료상의 하자에 한해 적용됩니다. 부적절한 설치, 오용, 사고 또는 무단 개조로 인한 손상은 보증 대상에서 제외됩니다. 보증 청구를 위해 구매 증빙 자료를 보관해 주십시오.
10. 고객 지원
For technical assistance, missing parts, or warranty inquiries, please contact Techly customer support. Refer to the product packaging or the official Techly web최신 연락처 정보는 사이트에서 확인하세요.