Oster CKSTBR9050
Oster Expressbake Bread Maker Instruction Manual
Model: CKSTBR9050-NP | Brand: Oster
소개
Welcome to the world of homemade bread with your new Oster Expressbake Bread Maker. This appliance is designed to simplify the bread-making process, offering a variety of settings for different bread types, doughs, and even jams. Enjoy fresh, delicious bread with minimal effort.
제품 끝view 및 주요 특징
The Oster Expressbake Bread Maker (CKSTBR9050-NP) is a versatile kitchen appliance designed for ease of use and consistent results. It features a compact design and intuitive controls.
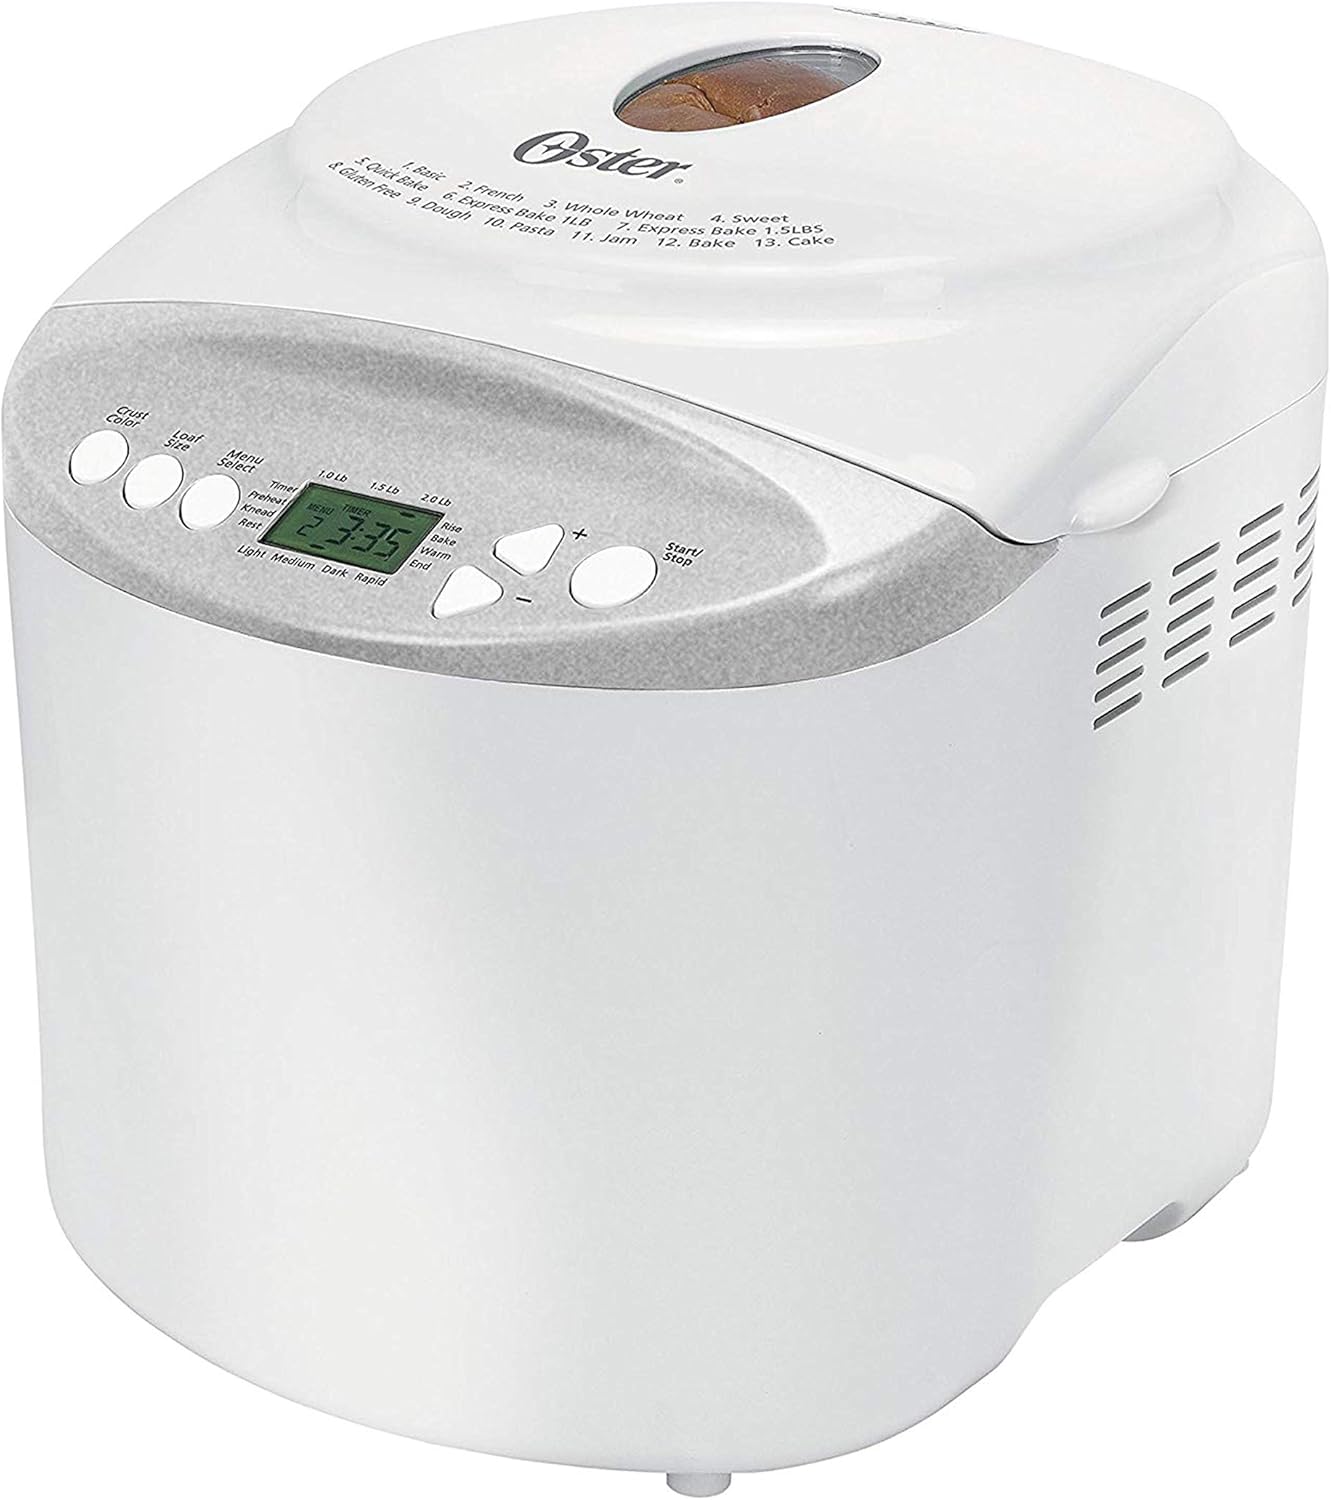
앞쪽 view of the Oster Expressbake Bread Maker, showing the control panel and view잉 창.

내부 view highlighting the removable lid, nonstick aluminum pan, and easy-to-read LCD display.
주요 특징:
- 2-Pound Loaf Capacity: Ideal for families, allowing for larger bread batches.
- 13 설정: Offers a wide range of options for various breads, doughs, and jams.
- Gluten-Free Setting: Dedicated program for preparing gluten-free bread.
- Express Bake Setting: Bakes bread in under an hour for quick results.
- Crust Color Selection: Choose from light, medium, or dark crusts.
- 13시간 프로그래밍 가능 타이머: Allows for delayed baking, so you can wake up to fresh bread.
- 편리한 액세서리: Includes a measuring cup and spoon.
Product Features Video: A Closer Look
이 영상은 자세한 시각적 정보를 제공합니다.view of the Oster Expressbake Bread Maker, showcasing its various components and features, including the bread pan, kneading paddle, and control panel. It highlights the ease of use and the different settings available.
설치 가이드
- 짐 풀기: Carefully remove all packaging materials from the bread maker and its accessories.
- 청소: Before first use, wash the bread pan and kneading paddle with warm, soapy water. Wipe the exterior of the unit with a damp 천으로 닦아주세요. 조립하기 전에 모든 부품이 완전히 건조되었는지 확인하세요.
- 놓기: 제빵기를 직사광선과 열원으로부터 멀리 떨어진 안정적이고 평평하며 내열성이 있는 표면에 놓으십시오. 기기 주변에 충분한 환기가 이루어지도록 하십시오.
- 빵틀 설치: Insert the kneading paddle onto the shaft inside the bread pan. Place the bread pan into the bread maker, ensuring it clicks securely into place.
- 전원 연결: 전원 코드를 접지된 콘센트에 꽂으세요.

The included measuring cup and spoon are essential for accurate ingredient measurement.

The control panel displays the 13 available settings for various bread types and functions.
작동 지침
성공적인 빵 굽기를 위해 다음 단계를 따르세요.
- 재료 추가: Always add liquid ingredients first, followed by dry ingredients. Create a small well in the dry ingredients for the yeast, ensuring it does not come into direct contact with liquids or salt initially.
- 프로그램 선택: Press the "Menu Select" button to choose from the 13 available settings (e.g., Basic, French, Whole Wheat, Sweet, Gluten-Free, Express Bake, Dough, Jam, Cake).
- 빵 크기를 선택하세요: Press the "Loaf Size" button to select your desired loaf size (1.0 lb, 1.5 lb, or 2.0 lb).
- 크러스트 색상 선택: Press the "Crust Color" button to choose your preferred crust shade (Light, Medium, or Dark).
- 베이킹 시작하기: Press the "Start/Stop" button to begin the baking cycle. The machine will automatically knead, rise, and bake the bread.
- Delayed Baking (Optional): To use the 13-hour programmable timer, add ingredients, then set the desired delay time before pressing "Start/Stop".
최상의 결과를 위한 중요 팁:
- 레시피에 별도의 언급이 없는 한 모든 재료는 실온 상태여야 합니다.
- Measure ingredients precisely. Use the provided measuring cup and spoon for accuracy.
- During the kneading cycle, use a rubber spatula to scrape down any flour from the sides of the pan to ensure all ingredients are incorporated.
- Avoid opening the lid during the baking cycle, especially during the rising phase, as this can affect the bread's texture.
유지관리 및 청소
적절한 유지 관리는 제빵기의 수명과 최적의 성능을 보장합니다.
- 매번 사용 후: Unplug the bread maker and allow it to cool completely before cleaning.
- 빵틀과 반죽용 패들: Remove the bread pan and kneading paddle. Wash them with warm, soapy water. Do not use abrasive cleaners or scouring pads, as this can damage the nonstick coating. Rinse thoroughly and dry completely.
- 외부: 빵 제조기 외부를 부드러운 천으로 닦으세요.amp 천으로 닦아주세요. 기기를 물이나 다른 액체에 담그지 마세요.
- 뚜껑: The inner lid is detachable for easy cleaning. Wipe it down with a damp 옷감.
- 저장: Store the bread maker in a dry, cool place when not in use.
문제 해결
If you encounter issues with your bread maker, refer to the common problems and solutions below:
| 문제 | 가능한 원인 | 해결책 |
|---|---|---|
| Bread is too dense or flat | Too much liquid, old yeast, or incorrect ingredient order. | Reduce liquid slightly. Ensure yeast is fresh. Always add liquids first, then dry ingredients, with yeast last in a well. |
| Bread did not rise | Inactive yeast, water too hot/cold, or too much salt/sugar. | Check yeast expiration. Use water between 77°-85°F. Measure salt and sugar accurately. |
| 반죽용 패들이 빵에 끼어버렸습니다. | 흔히 발생하는 일입니다. | Allow bread to cool. Use the provided metal hook to carefully remove the paddle. |
| 기계가 시작되지 않음 | Not plugged in, lid not closed, or incorrect program selection. | Ensure power cord is securely plugged in. Close the lid firmly. Verify program settings. |
제품 사양
- 모델 번호: CKSTBR9050
- 색상: 하얀색
- 덩어리 용량: 최대 2파운드
- 프로그램 수: 13
- 제품 크기: 12.1인치 깊이 x 13.5인치 너비 x 13.2인치 높이
- 품목 무게: 8파운드
- 제조업체: 오스터
- 한국어: 750343688389, 034264440203
- 첫 번째 가능한 날짜: 17년 2011월 XNUMX일

Detailed dimensions of the Oster Expressbake Bread Maker.
보증 및 지원
For detailed warranty information and customer support, please refer to the official user guide provided with your product or visit the Oster website. A digital version of the user guide is often available for download.
추가적인 도움이 필요하시면 다음을 참조하실 수도 있습니다. 사용 설명서 (PDF).
Ask a question about this manual
Ask about setup, troubleshooting, compatibility, parts, safety, or missing instructions. Manuals+ will review the question and use this page’s manual context to help answer it.