1. 서론
구매해주셔서 감사합니다asing the Hiland HLDS01-WCBT 48,000 BTU Propane Patio Heater. This outdoor heating unit is designed to provide warmth and comfort to your patio or outdoor living space. Featuring a durable hammered silver finish, variable temperature control, and an anti-tip safety device, this heater is built for both performance and safety. Please read this manual thoroughly before assembly and operation to ensure safe and efficient use.
2. 중요한 안전 정보
WARNING: For outdoor use only. Do not operate this heater indoors or in enclosed areas. Keep clear of combustible materials.
- 히터는 항상 단단하고 평평한 표면에서 작동하십시오.
- Maintain adequate clearance from combustible materials: at least 24 inches from sides and 36 inches from top.
- 작동 중 적절한 환기를 보장하십시오.
- 히터가 작동하는 동안에는 절대로 자리를 비우지 마십시오.
- 어린이와 반려동물을 난방기에서 안전한 거리에 두십시오.
- This heater is equipped with an anti-tip device that will automatically shut off the gas supply if the unit is tilted or knocked over.
- 이 기기나 다른 기기 근처에서 가솔린이나 기타 가연성 증기 및 액체를 보관하거나 사용하지 마십시오.
- 제안 65 경고: 이 제품은 캘리포니아 주에서 선천적 기형 또는 기타 생식 장애를 유발하는 것으로 알려진 일산화탄소를 포함한 화학 물질에 노출될 수 있습니다. 자세한 내용은 다음으로 이동하십시오. www.P65Warnings.ca.gov.
3. 패키지 내용
Before beginning assembly, ensure all parts are present and undamaged. If any parts are missing or damaged, do not attempt to assemble or operate the heater. Contact customer service for assistance.
- Base Assembly with Wheels
- Main Pole/Post
- Burner Assembly with Control Unit
- Reflector Panels (Top Dish)
- Propane Tank Enclosure/Housing
- 레귤레이터 및 호스 어셈블리
- 하드웨어 팩 (나사, 너트, 와셔)
- Small Wrench (for assembly)
- 버너 커버
4. 설치 및 조립
Assembly typically takes about 20-60 minutes. A Philips screwdriver and an adjustable wrench (or your own wrench, as the provided one may be basic) are recommended.
- 구성 요소 풀기: Carefully remove all parts from the packaging. Remove any protective films, especially from reflective surfaces.
- 바퀴를 받침대에 부착: Secure the wheel assembly to the heater's base using the provided bolts and nuts.
- 지지대 다리를 조립하세요: Attach the three support legs to the base using the appropriate hardware.
- Install Propane Tank Enclosure: Slide the propane tank enclosure over the support legs and secure it.
- 메인 폴 부착: Secure the main pole to the top of the support leg assembly.
- Connect Burner Assembly: Carefully place the burner assembly onto the top of the main pole. Ensure the gas hose is routed correctly and connections are secure.
- Assemble Reflector Panels: Connect the individual reflector panels to form the top dish. Secure them with the provided screws and nuts.
- Attach Reflector to Burner: Mount the assembled reflector dish onto the top of the burner assembly, securing it with the provided studs and wing nuts.
- Install Propane Tank: Place a standard 20 lb propane tank (not included) into the base enclosure. Secure it with the internal strap.
- 조절기 연결: Attach the regulator hose to the propane tank valve. Tighten securely by hand, then with a wrench. Perform a leak test with soapy water before first use.
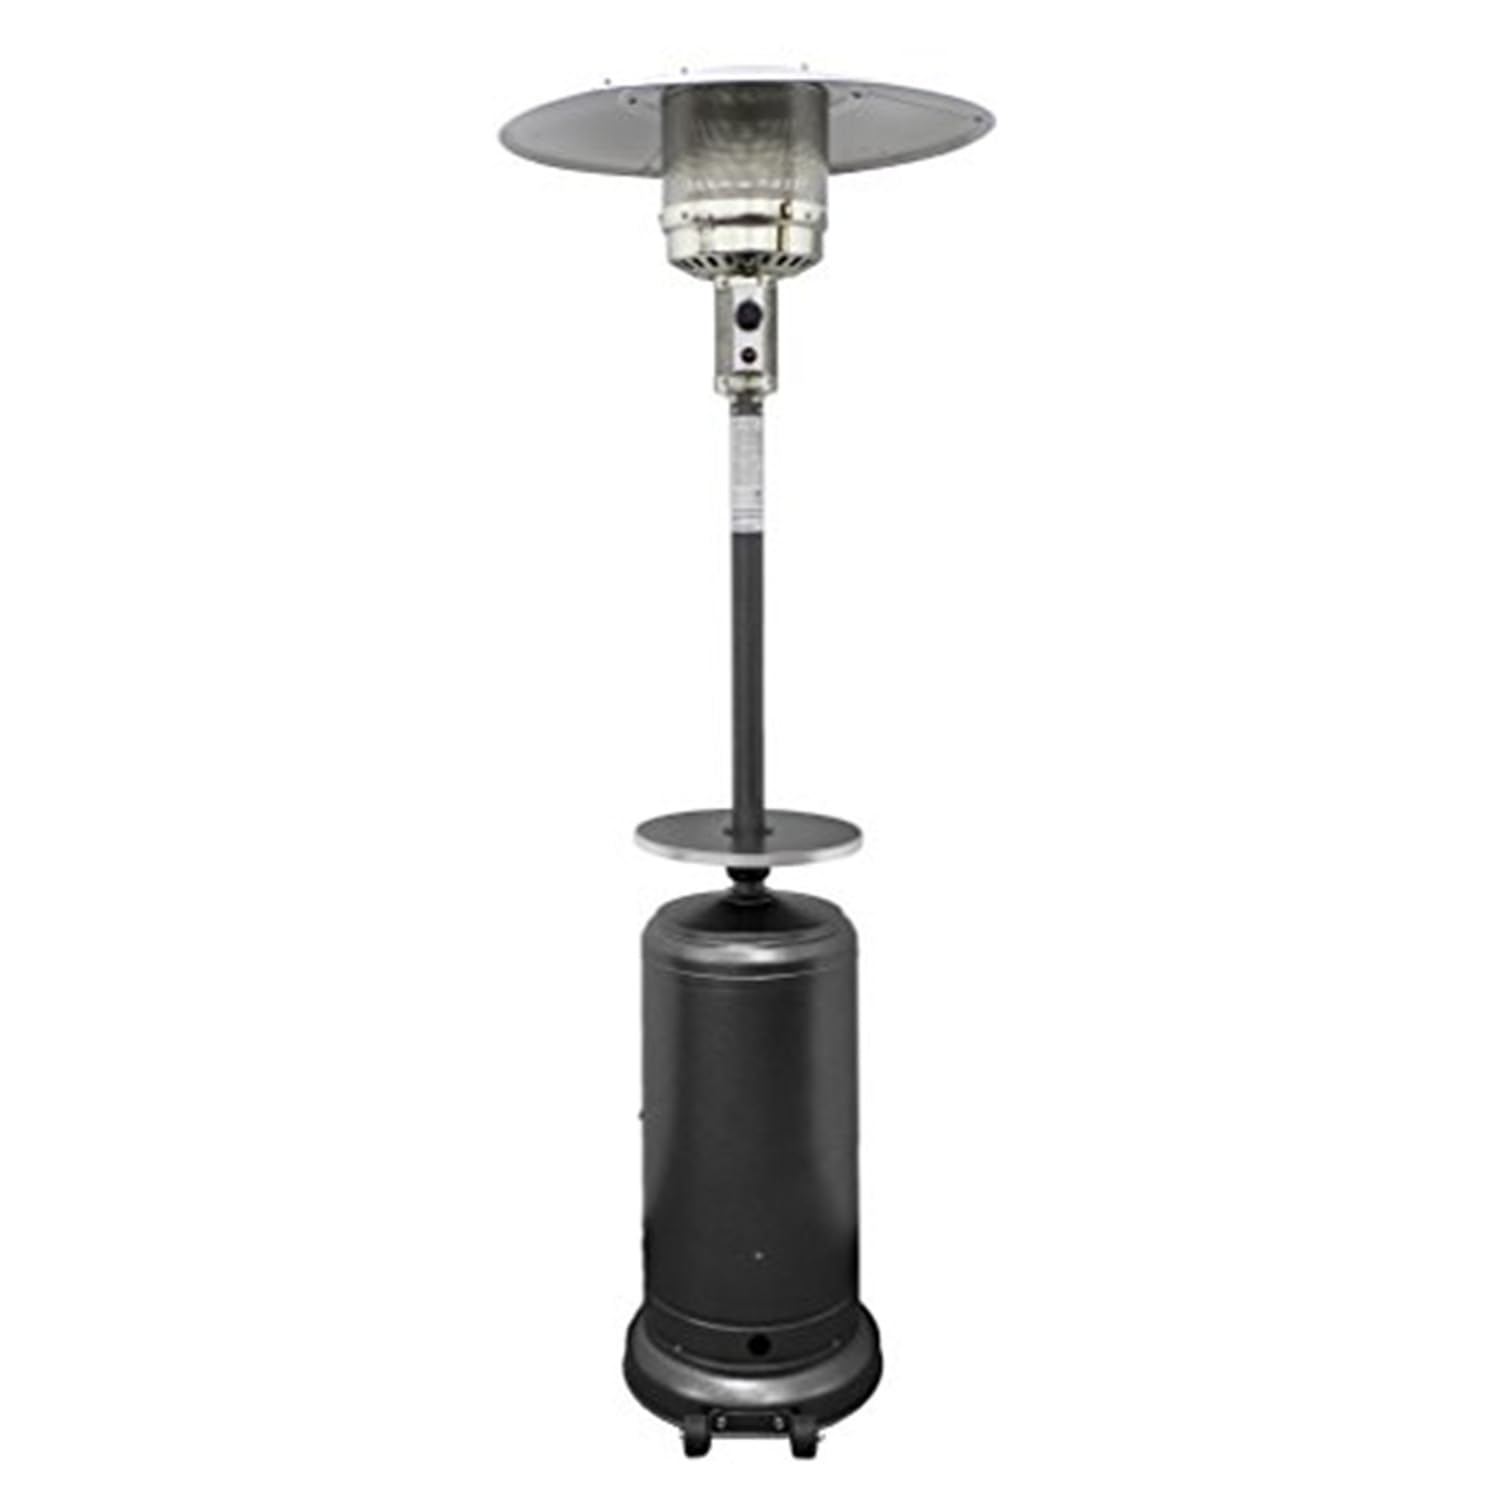
Figure 1: Fully assembled Hiland HLDS01-WCBT Propane Patio Heater.
Video 1: Demonstrates the assembly process and initial setup of a similar propane patio heater.
Video 2: Highlights the ease of moving the heater thanks to its integrated wheels.
5. 사용 설명서
5.1 히터 조명
- 프로판 탱크 밸브가 완전히 열려 있는지 확인하세요.
- Push and turn the control knob to the 'PILOT' position. Hold it down for 30-60 seconds to purge air from the gas lines.
- While still holding the control knob down, press the igniter button repeatedly until the pilot flame lights. You may need to press it several times.
- Once the pilot is lit, continue to hold the control knob down for another 10-15 seconds, then release. The pilot should remain lit.
- Turn the control knob to the 'LOW' or 'HIGH' position to ignite the main burner.
5.2 Adjusting Heat
Rotate the control knob between 'LOW' and 'HIGH' to adjust the heat output to your desired level.
5.3 히터 끄기
- 조절 손잡이를 'OFF' 위치로 돌리십시오.
- 프로판 탱크의 밸브를 닫으세요.
Video 3: Demonstrates the operation and heat output of the Hiland Patio Heater.
Video 4: Shows the heater in use, highlighting its warmth for cool evenings.
Video 5: Illustrates the heater's effectiveness for cold patio days.
6. 유지관리
- 청소: 외부 표면은 부드러운 천으로 정기적으로 닦아주세요.amp 천으로 닦아주세요. 마감재를 손상시킬 수 있는 연마성 세제는 사용하지 마세요.
- 녹 방지: Although the heater features a durable finish, prolonged exposure to harsh weather can lead to rust, especially on metal edges. Consider using a weather-resistant cover or storing the heater in a covered area or shed when not in use.
- 저장: When storing the heater, especially for extended periods, disconnect the propane tank and store it in a well-ventilated outdoor area. Store the heater in a dry, protected location.
- 점검: Periodically inspect the gas hose and connections for any signs of wear, damage, or leaks.
7. 문제 해결
- Heater does not light:
- 프로판 탱크 밸브가 완전히 열려 있는지 확인하십시오.
- Check if the igniter is sparking. If not, the battery may need replacement or the igniter may be faulty. A long lighter can be used to manually light the pilot.
- Hold the control knob down longer to purge air from the gas lines.
- Pilot light goes out:
- Ensure the control knob was held down long enough after lighting the pilot.
- Check for strong winds that might be extinguishing the pilot.
- 낮은 발열량:
- Ensure the control knob is set to 'HIGH'.
- Check propane tank level; it may be running low.
- Heater tips over: The anti-tip safety device will automatically shut off the gas. Stand the heater upright and follow lighting instructions again.
8. 사양
| 특징 | 세부 사항 |
|---|---|
| 상표 | 힐랜드 |
| 모델 번호 | HLDS01-WCBT |
| 열 출력 | 48,000비티유 |
| 연료 유형 | 프로판 |
| 색상 | Hammered Silver |
| 제품 치수 | 33인치 깊이 x 87인치 너비 x 33인치 높이 |
| 특징 | Wheels, Anti-tip Device |
| 실내/실외 사용 | 집 밖의 |
| CSA 승인 | 예 |
9. 보증 및 지원
Hiland provides parts and service for their products. For warranty claims, replacement parts, or technical support, please refer to the contact information provided in your product packaging or visit the official Hiland web대지.